I bought my 3D printer back in January of 2018, about a year ago. The printer I bought was the Prusa i3 MK2. It’s been a year full of learning. 3D printers take time and effort to learn how to operate, especially if you’re printing with several different kinds of filaments (plastics). It’s not like a toaster, where it just works every time and doesn’t require much knowledge to operate. But don’t get me wrong, I don’t think that 3D printers are incredibly complex. Once you learn the little quirks of your 3D printer and find the right settings for each kind of filament it’s not very difficult. And it’s complete worth it to learn if you’re someone who loves to make things. In this article I’ll be sharing the advice I have for making getting into 3D printing easier.
I Recommend Prusa
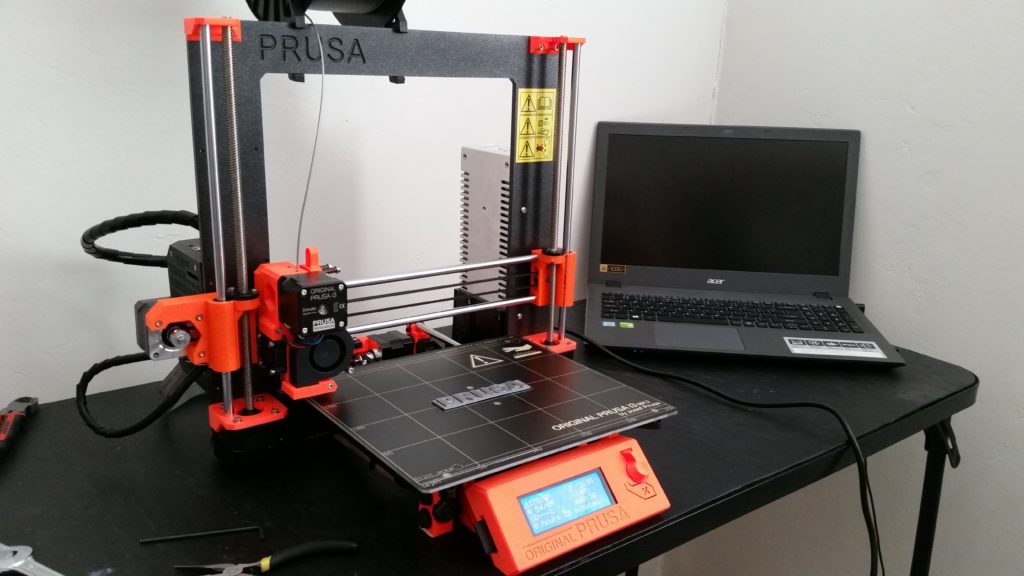
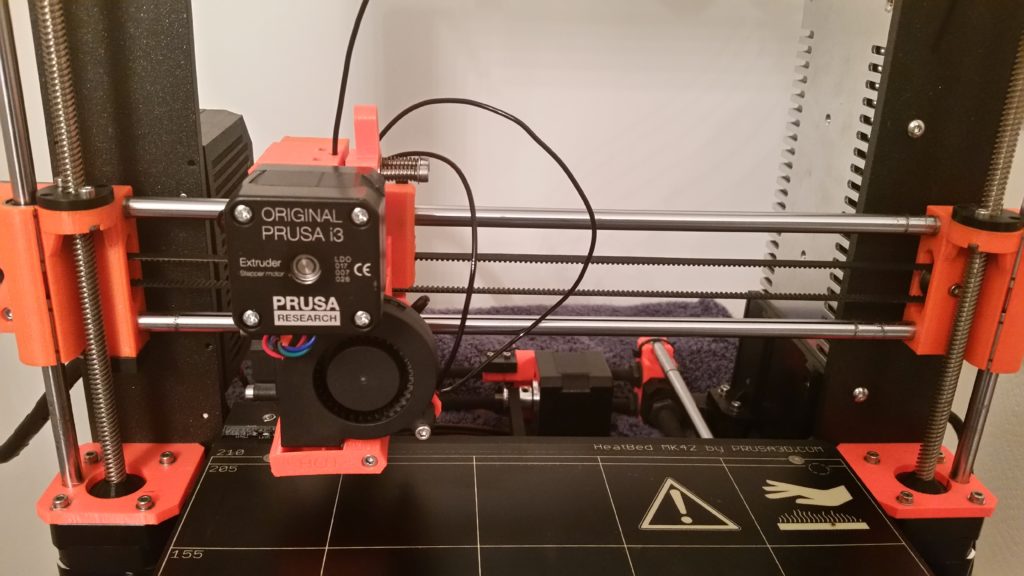
I did a lot of research into which 3D printer I should get as my first. I ended up going with the Prusa because of it’s overwhelmingly positive reviews, it’s auto bed leveling, the wide range of filaments it supports, and the advice I saw over and over is that it’s a good printer for beginners. After over a year of using it I am completely satisfied with it.
I recommend the Prusa because it has several features that make it easier for beginners. When you first start your printer, you’ll have the printer run some calibrations. The printer will make sure your bed is level, your extruder is level, and everything can move properly. When you start your first print (and before every print), the printer will check how level your bed is. If the bed is slightly mis-leveled slightly off, it will automatically adjust.
I bought the MK2, but the MK3 is out now (so you can’t get the MK2 anymore). The MK3 has even more features that make it easier for beginners. It has a filament sensor, so if you run out of filament in the middle of a print it will automatically stop. Then you can load it with new filament and it will continue the print from where it left off. The MK3 comes with a removable, flexible bed. One problem I constantly deal with is it can be hard to get prints off of the bed. The MK2 comes with a bed that has a PEI sheet on it. Printed parts stick to PEI really well, too well sometimes. Getting prints off can be a challenge. With the MK3’s removable and flexible bed, you can remove the bed when the print is done and then bend it. This will cause the print to pop off.
One of my main concerns when researching what 3D printer to buy is how safe they are. I didn’t want my printer to cause a fire. I read that there have been many cases where cheaper Chinese 3D printers have caught on fire. These printers are often clones of other, higher quality printers, such as the Prusa, but assembled with lower quality parts. However, I still haven’t heard of a case where a genuine Prusa printer has caused a fire. The Prusa software has what’s called thermal runaway protection, which prevents the head block from heating up out of control. Still, even though the chances of it causing a fire are very slim, I still have a fire alarm right above it and a fire extinguisher in the room just in case, and I recommend you do the same. Some people have even installed automatic fire extinguishers over their 3D printer. I also never run the 3D printer if I’m not home. I started running it overnight after several months of running it when I was confident that it would be fine.
I also recommend the Prusa because it can print pretty much any kind of filament. PLA, ABS, PETG, Nylon, TPU, you name it, the Prusa can print it.
Preassembled vs. Assembling It Yourself
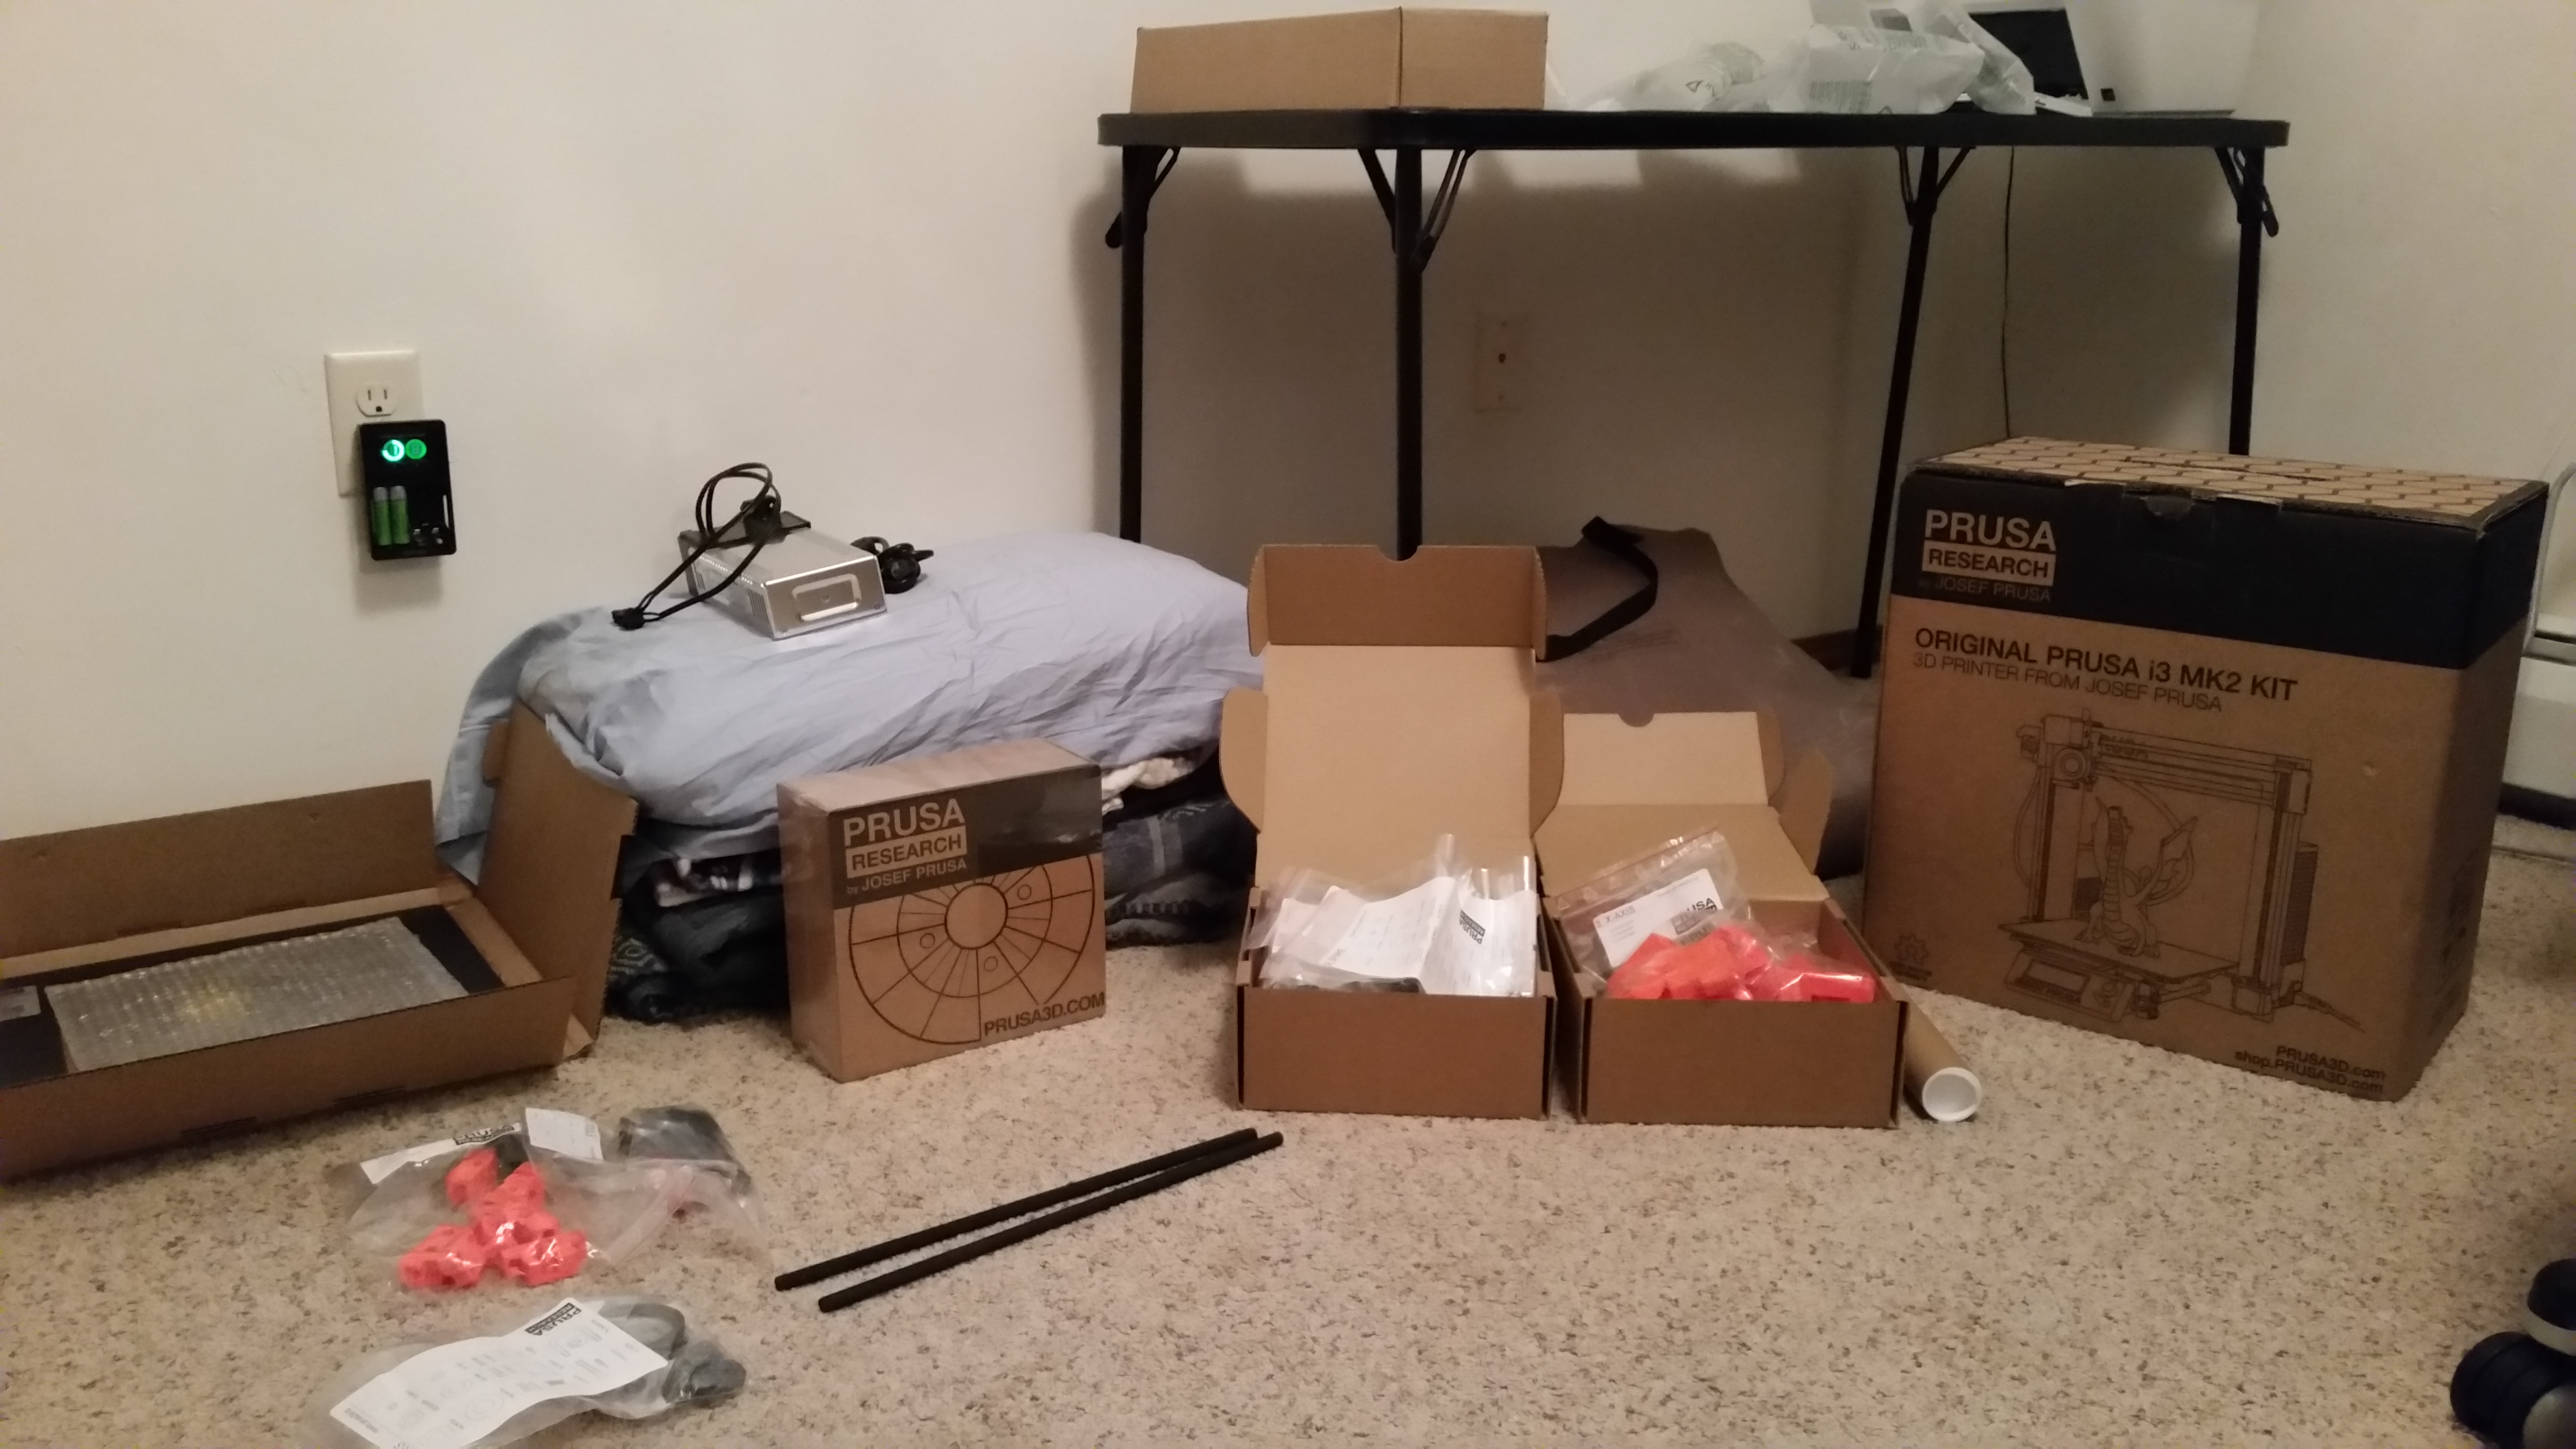
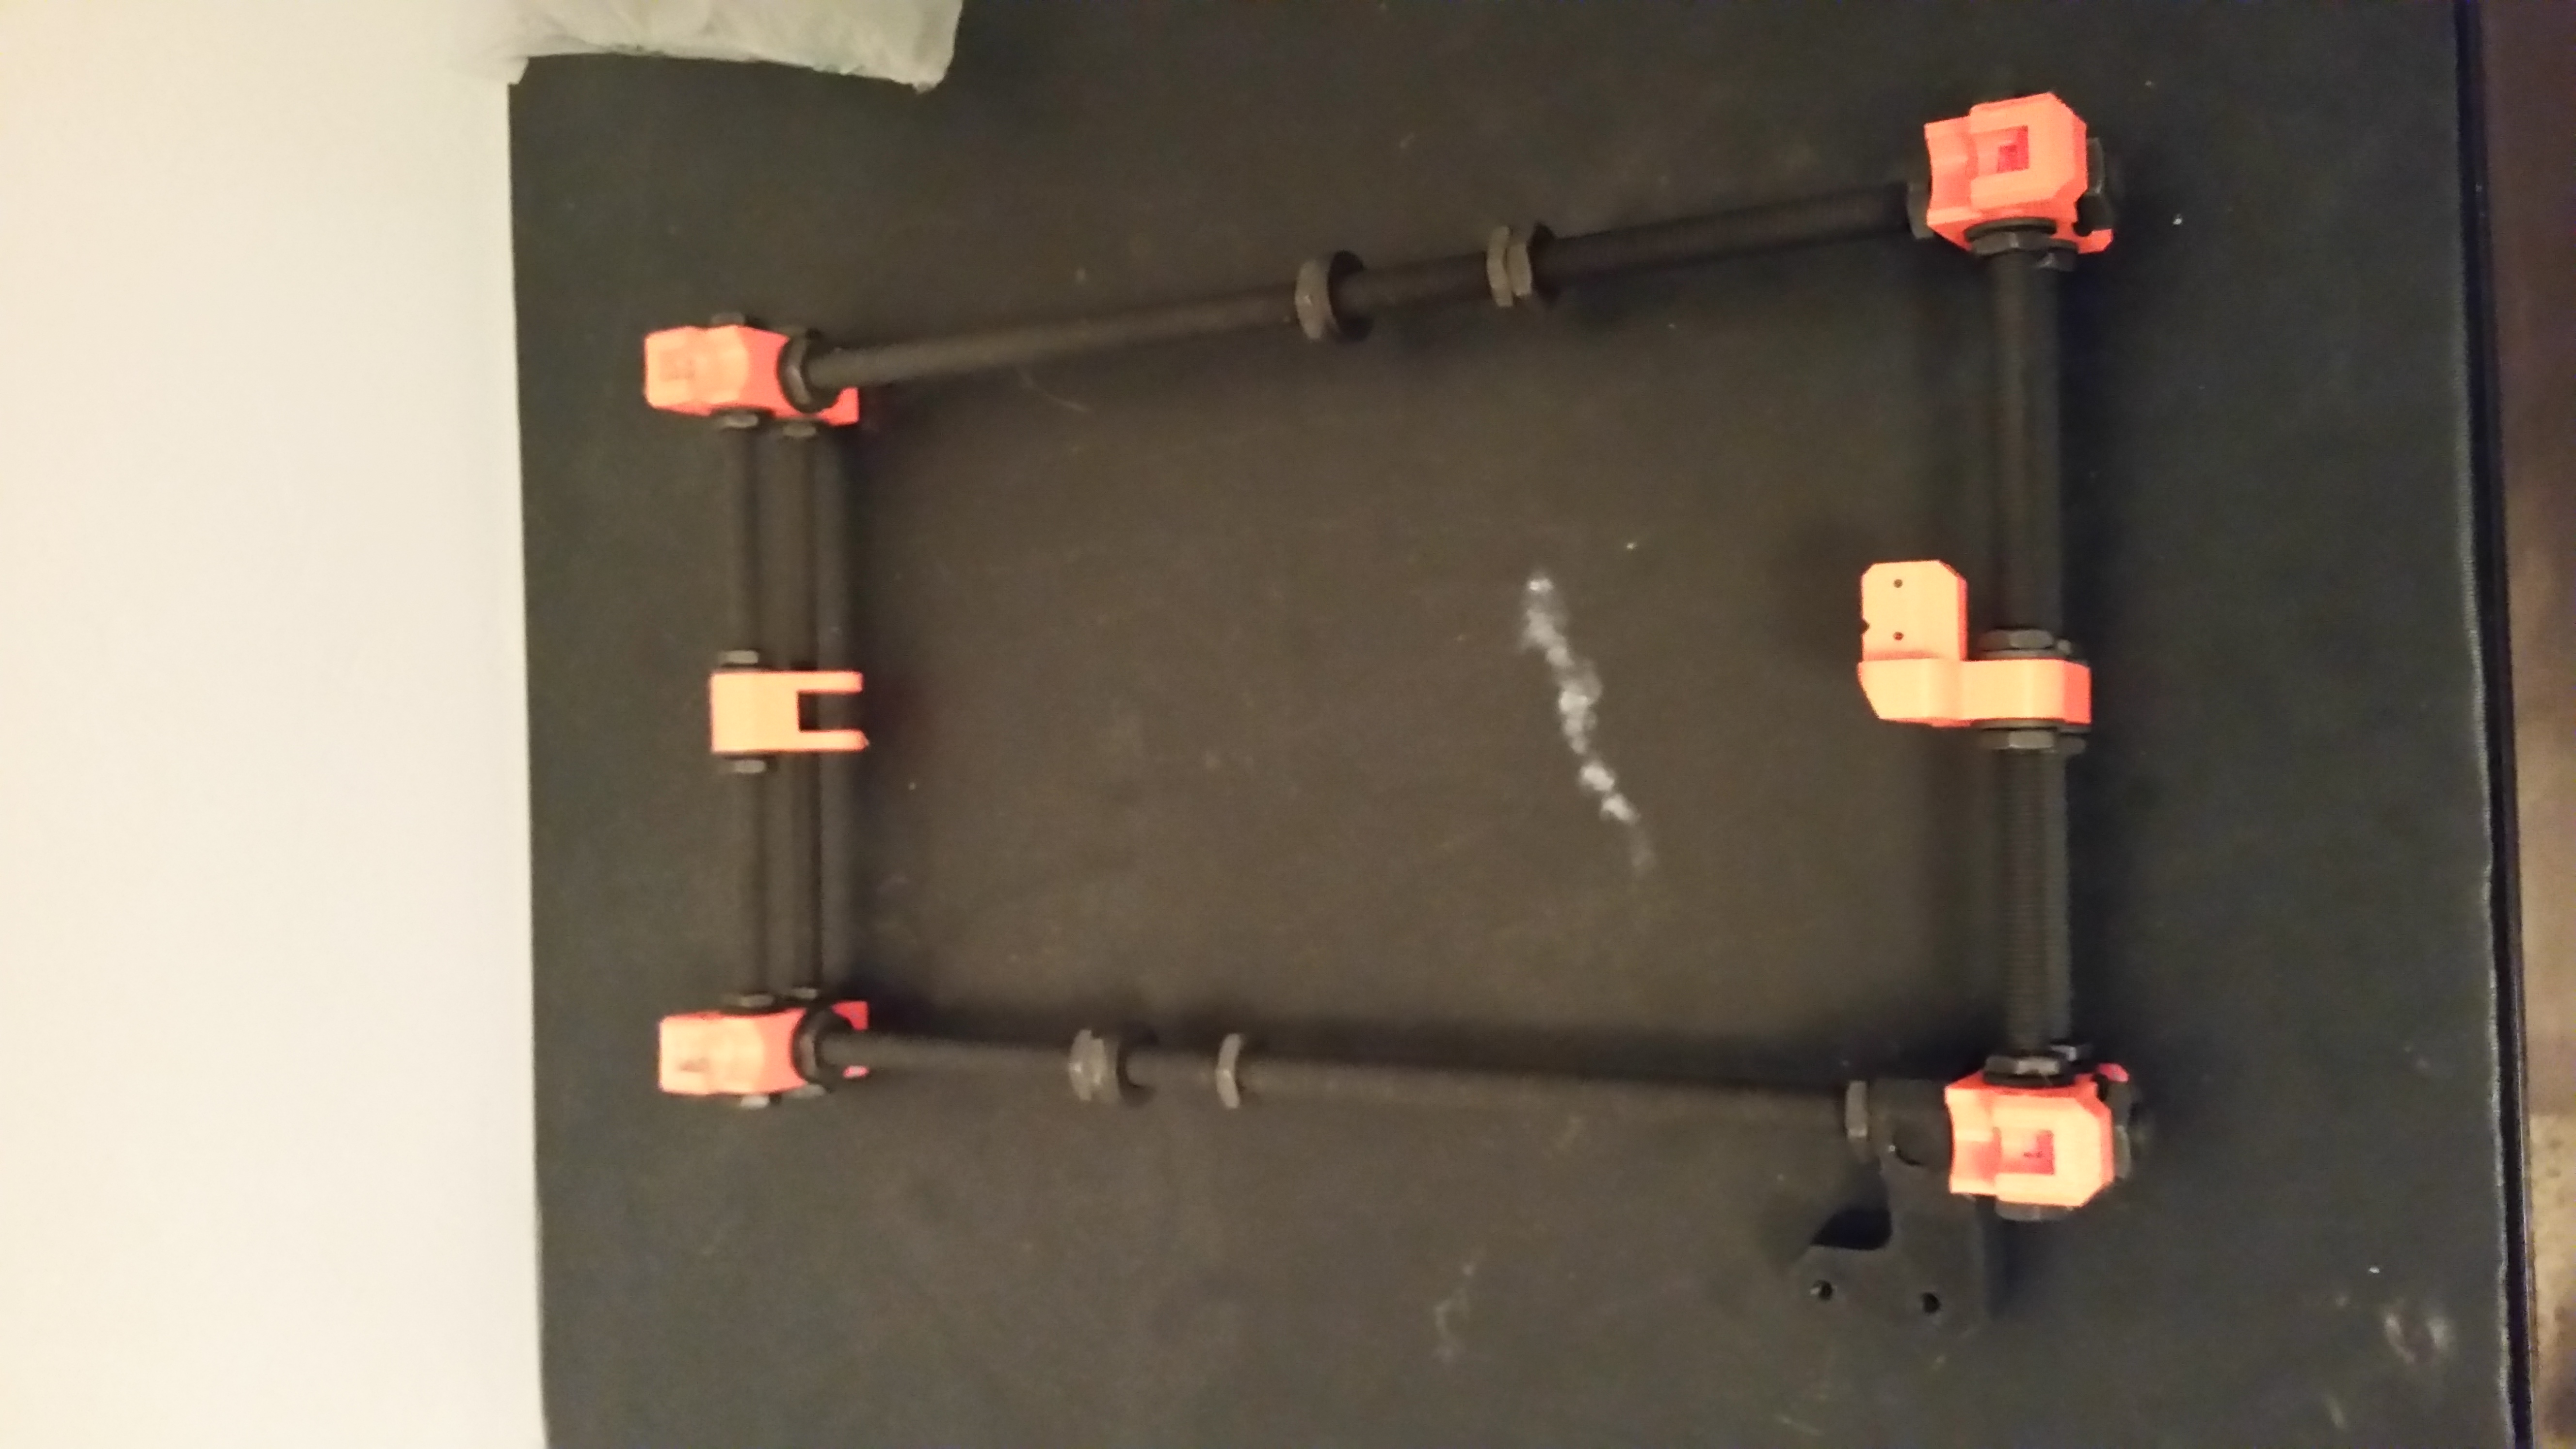
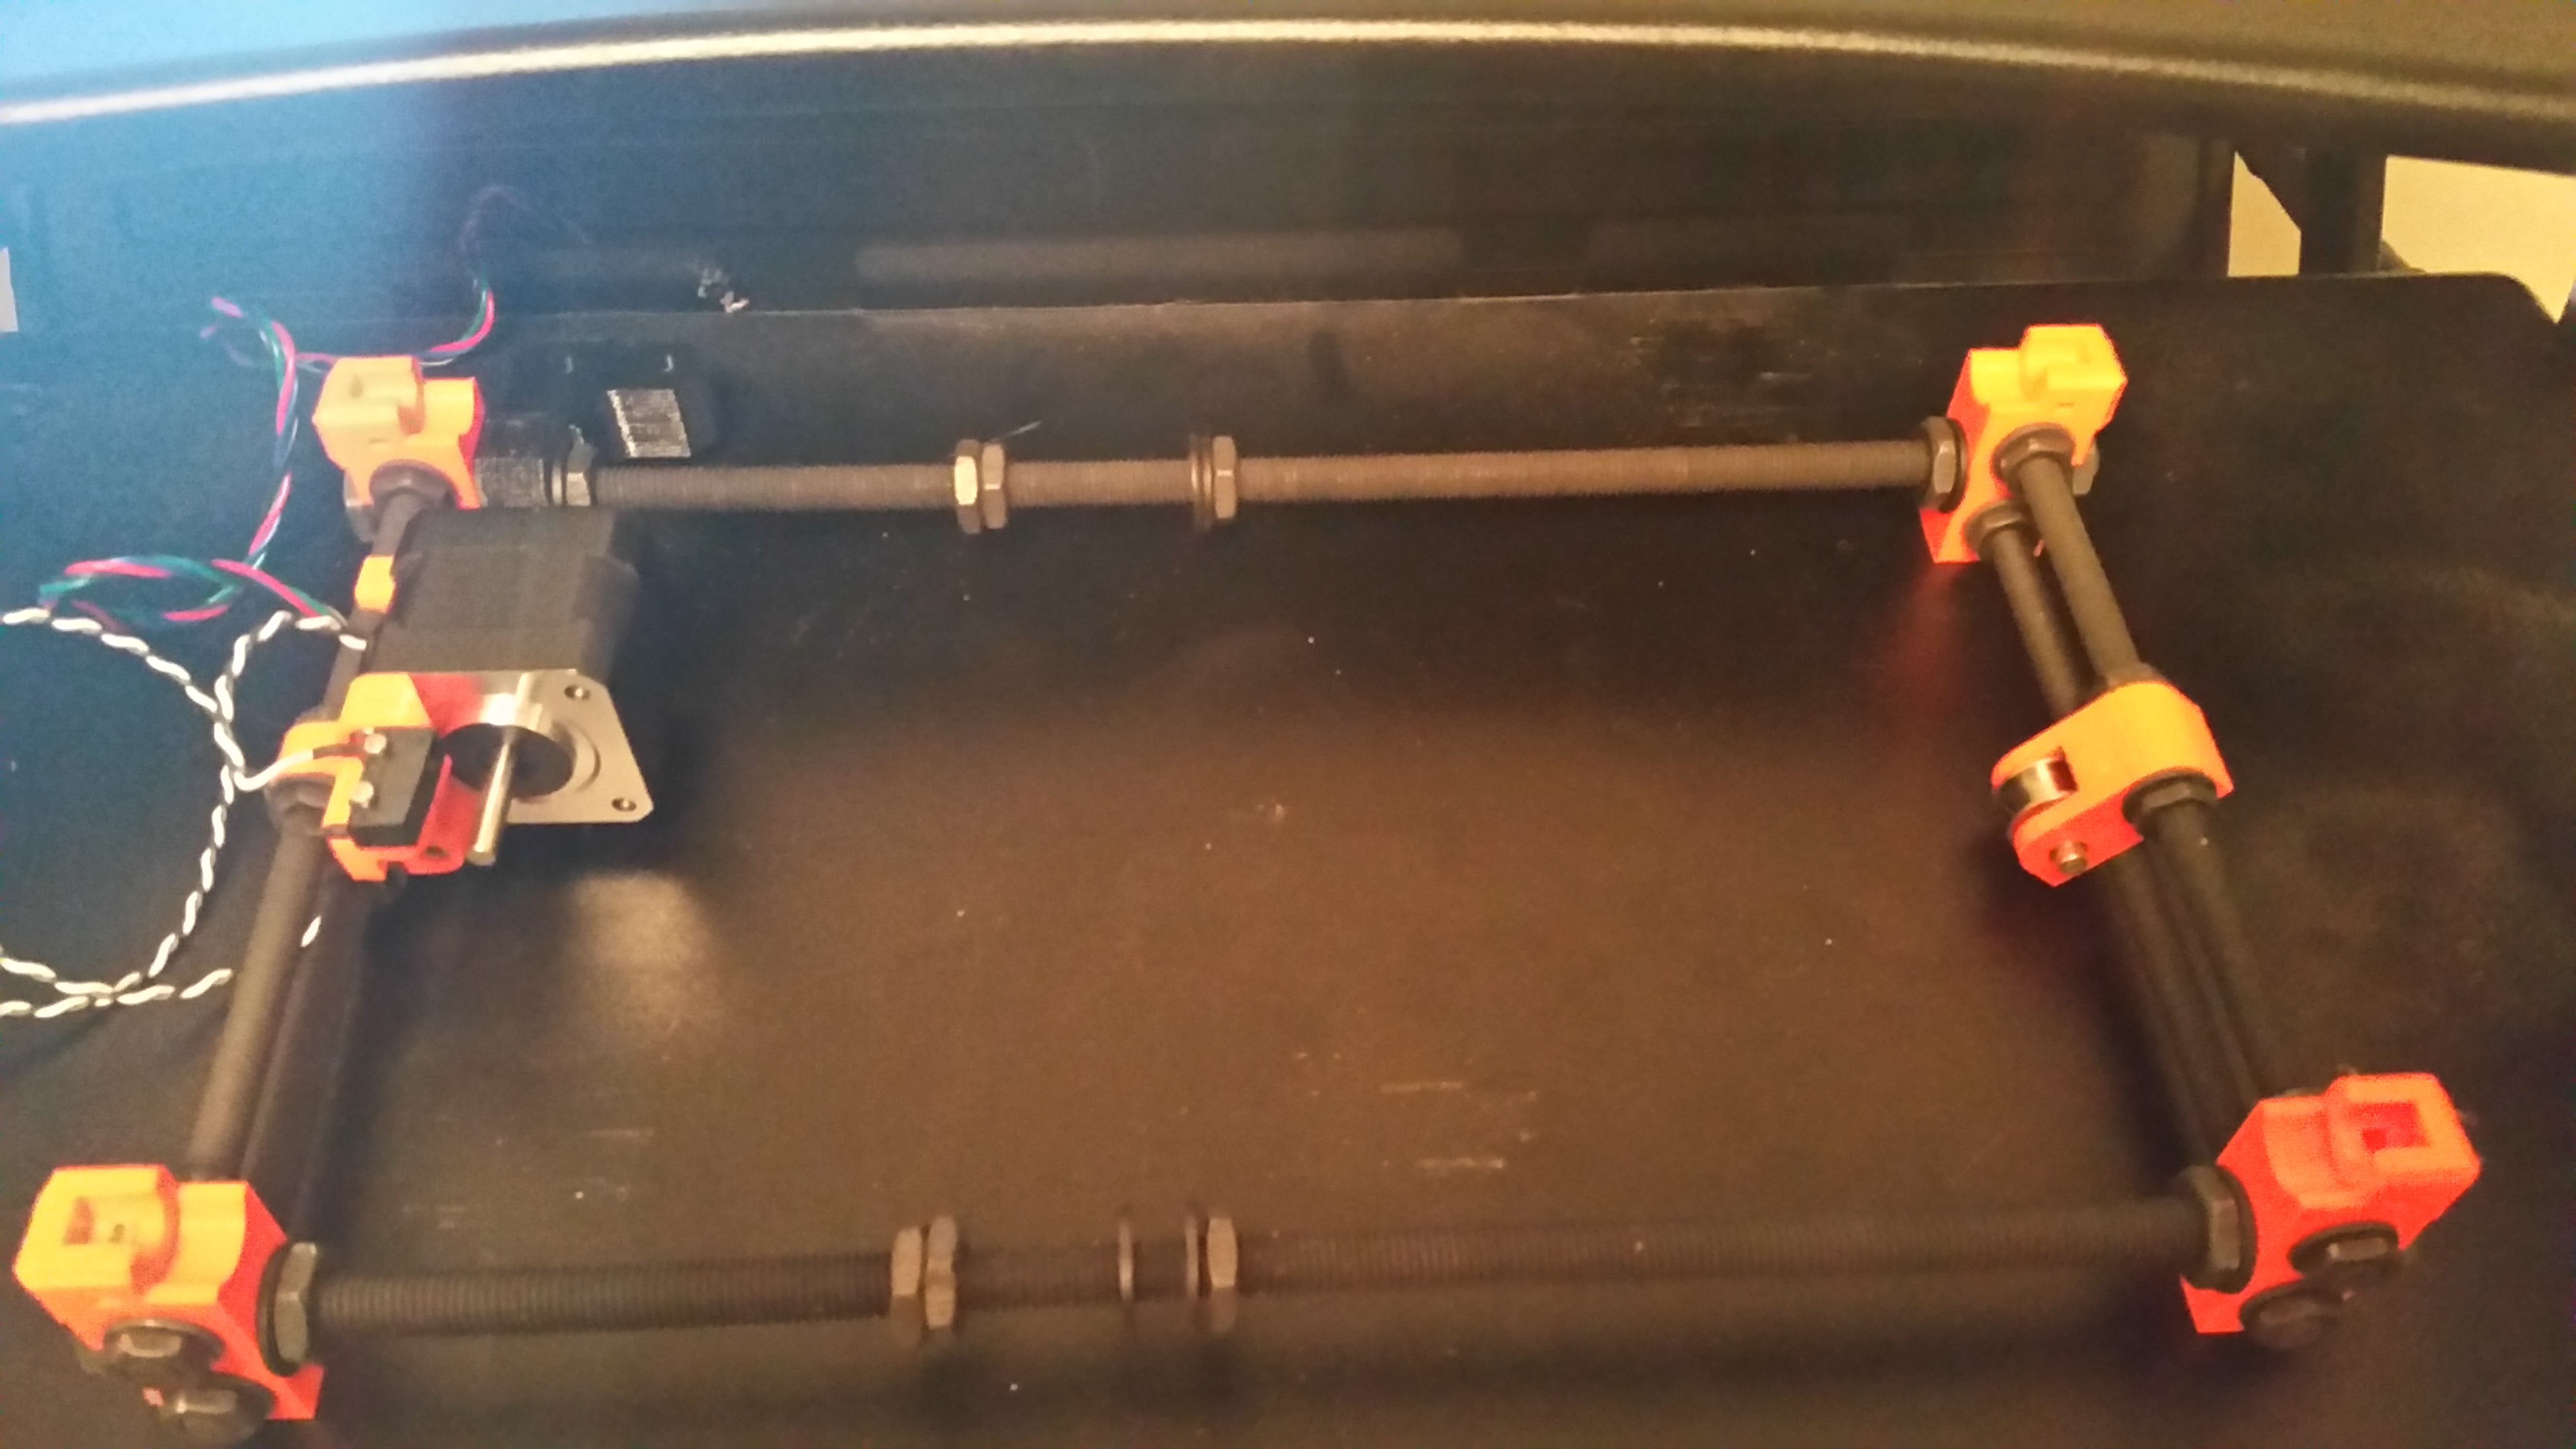
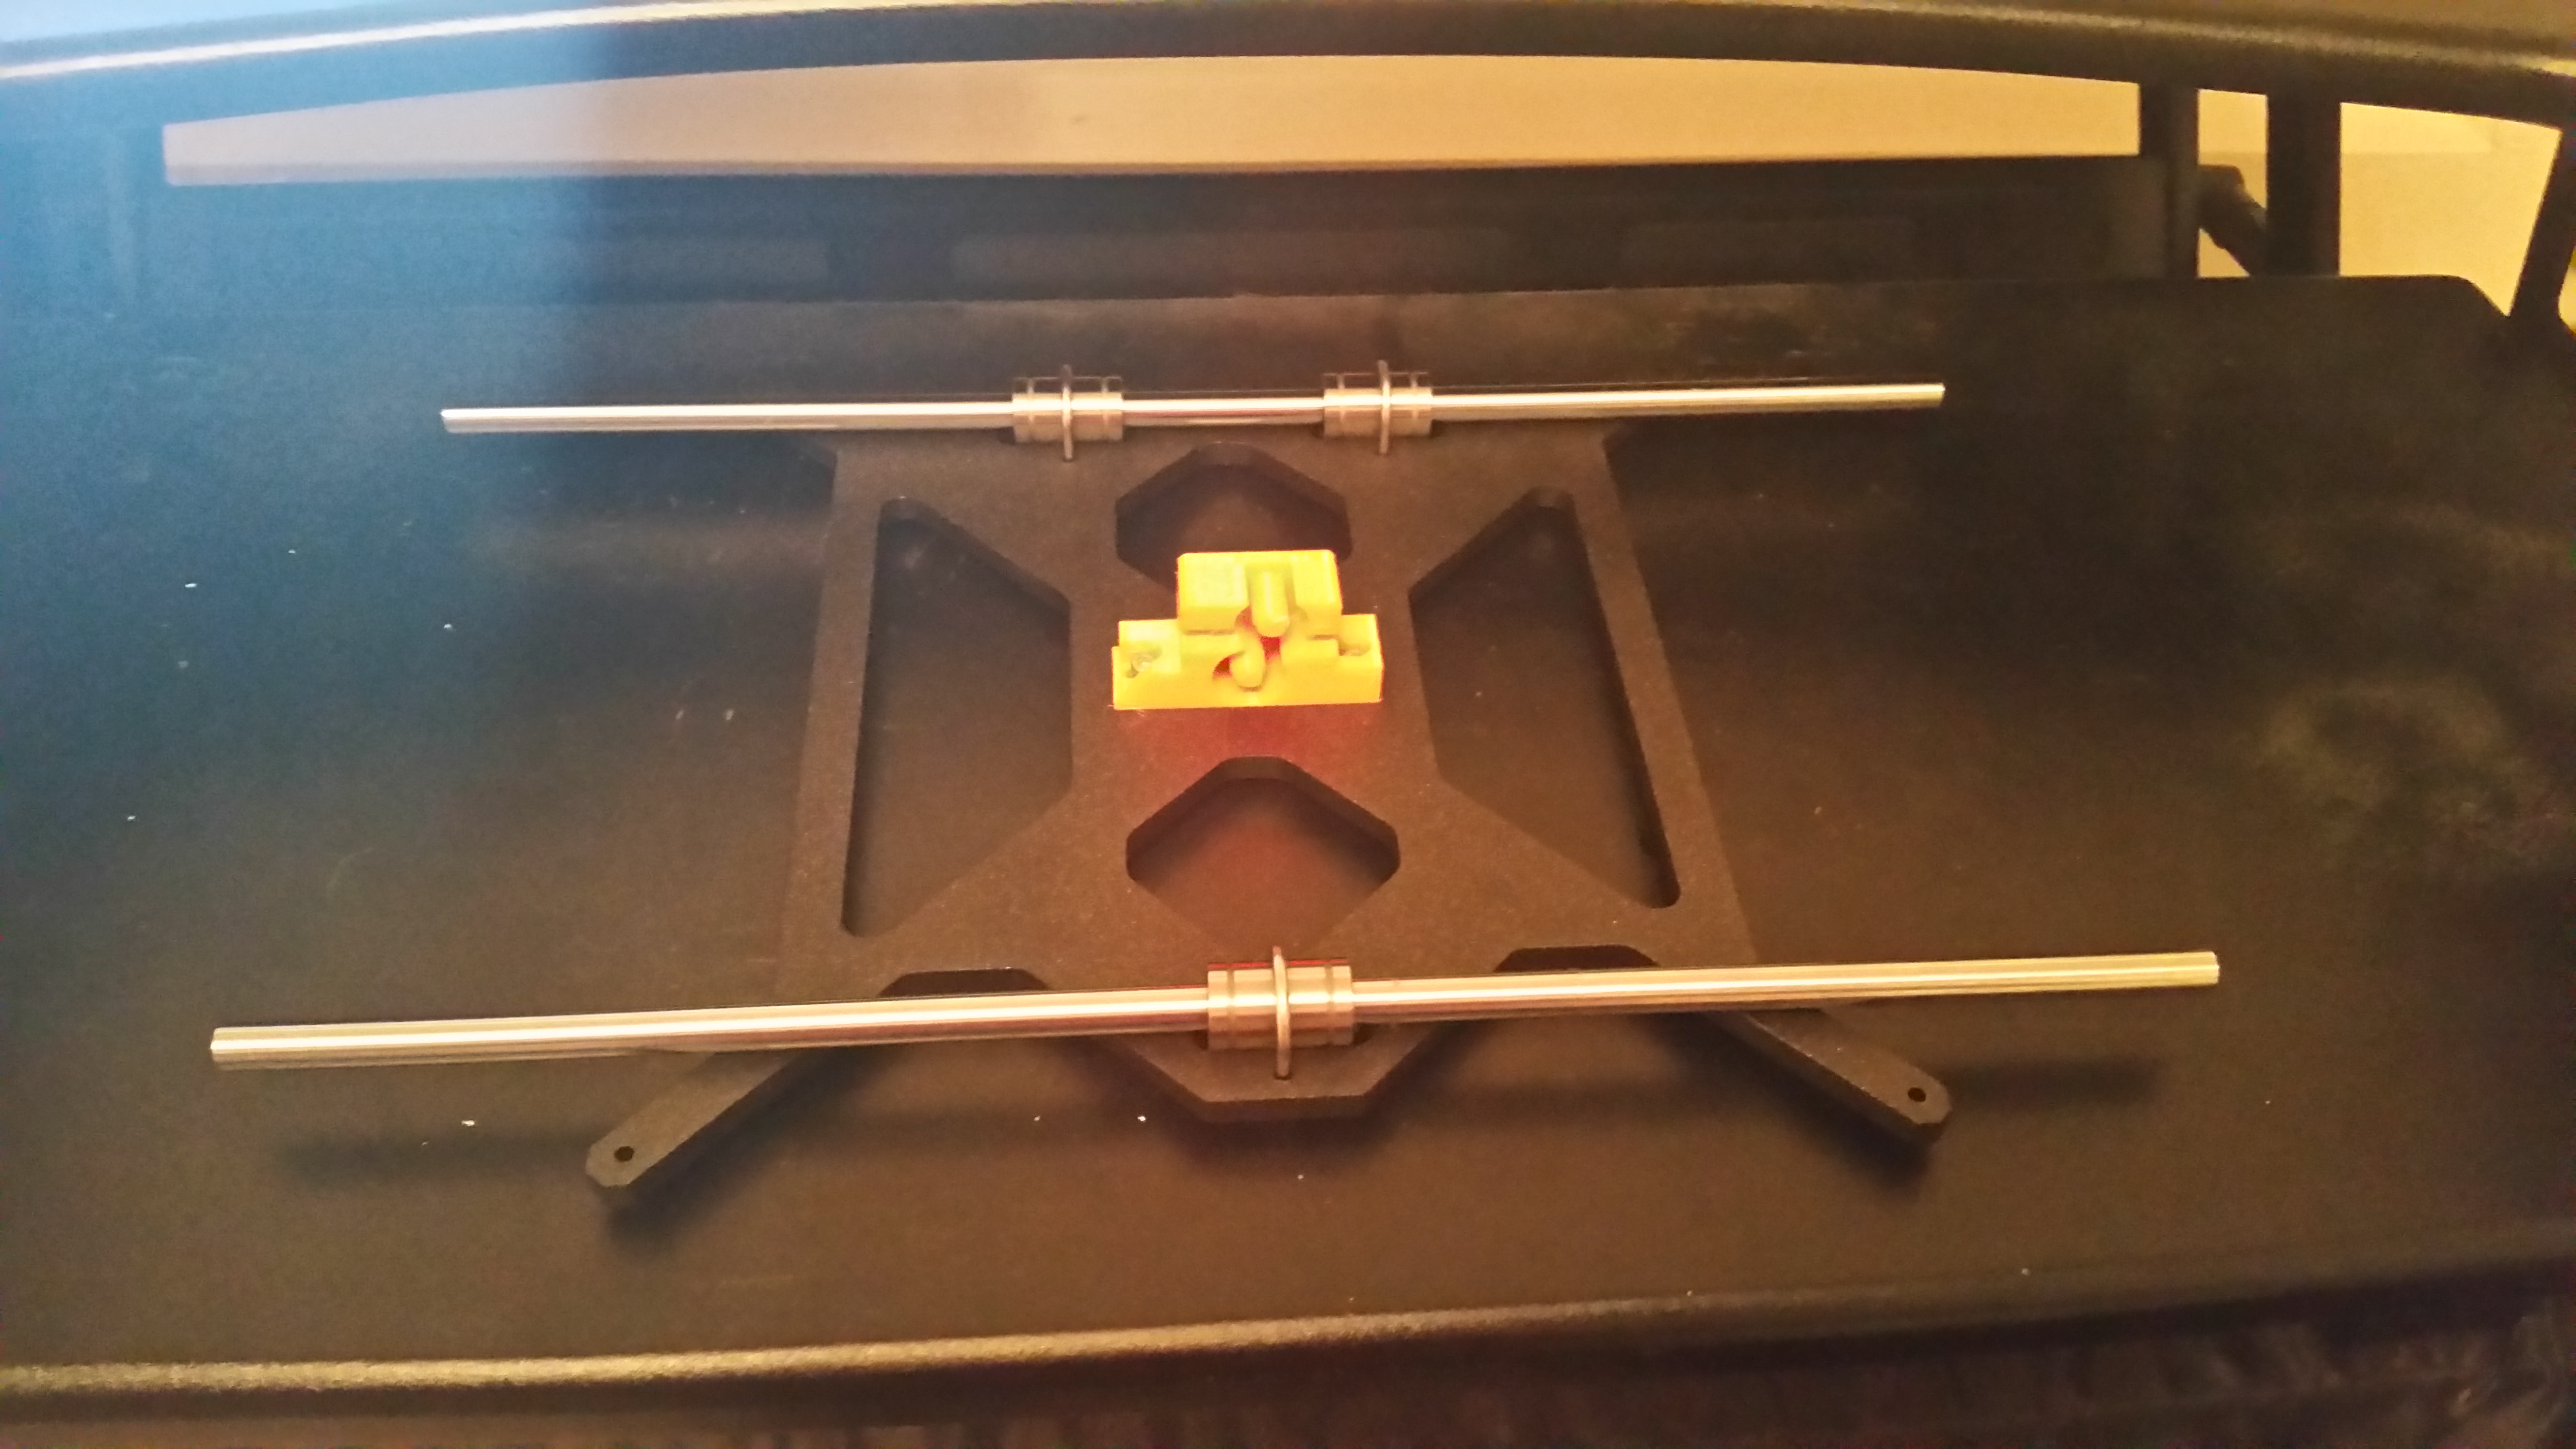
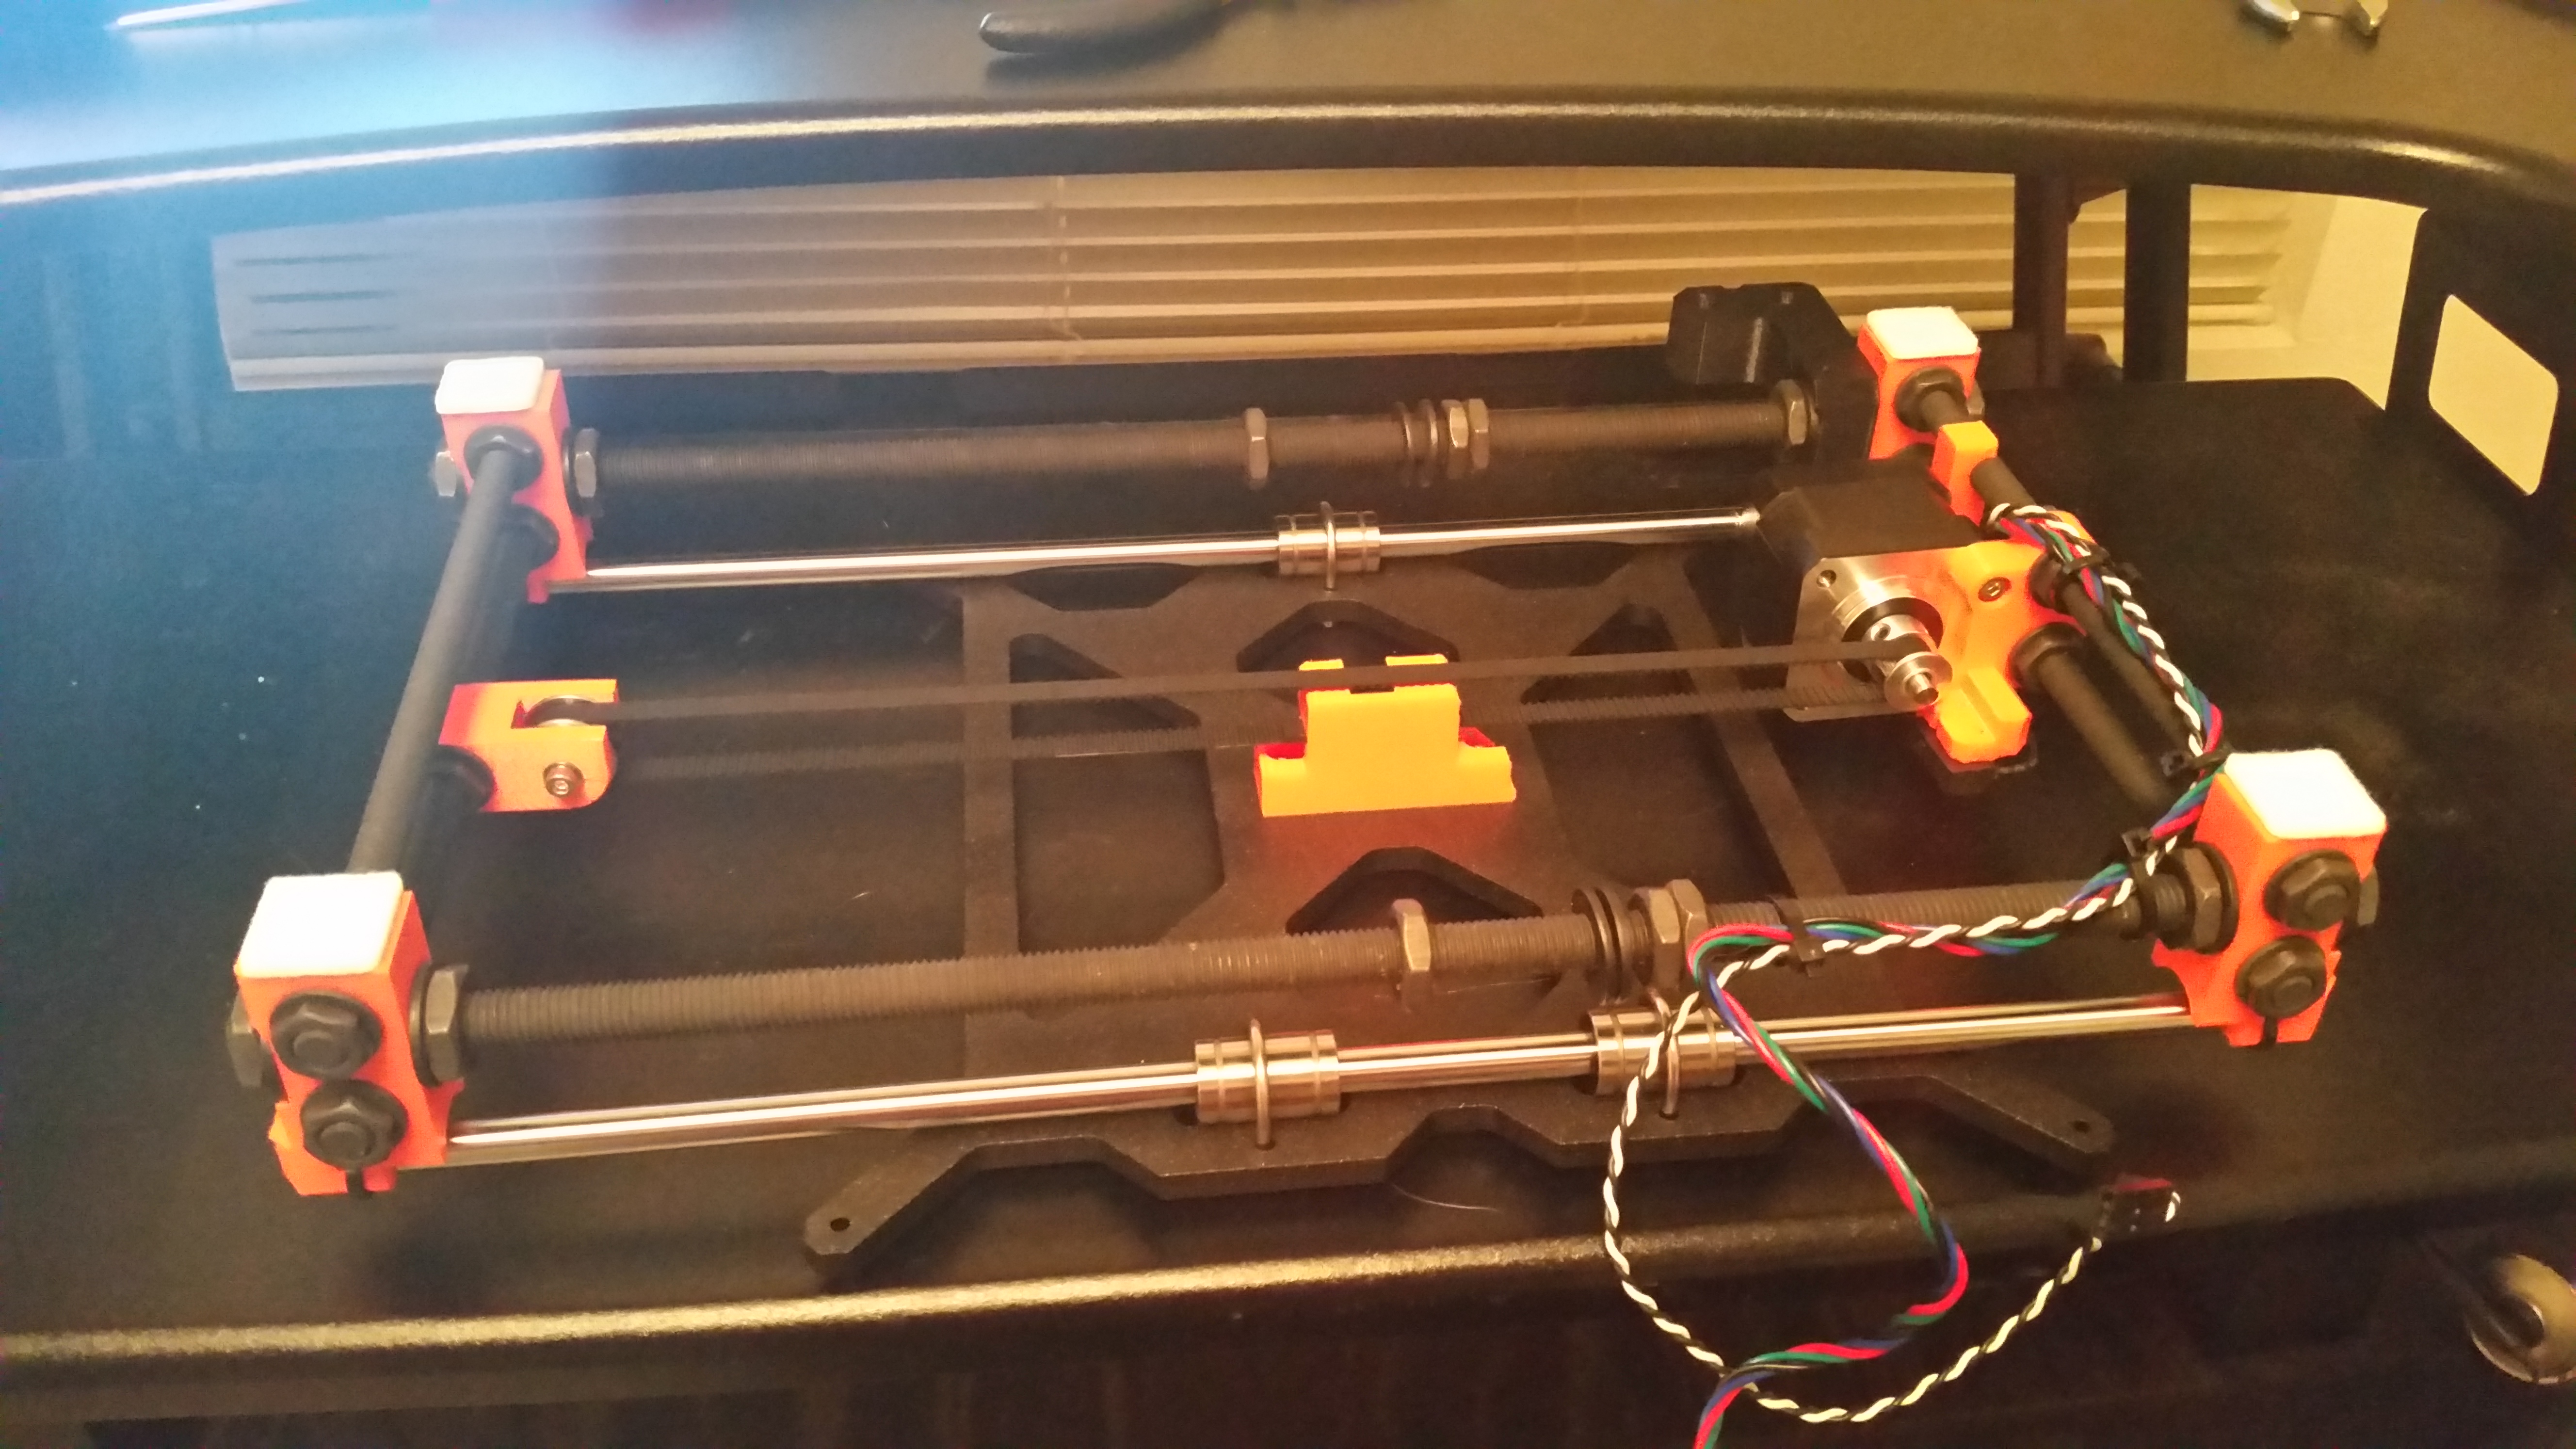
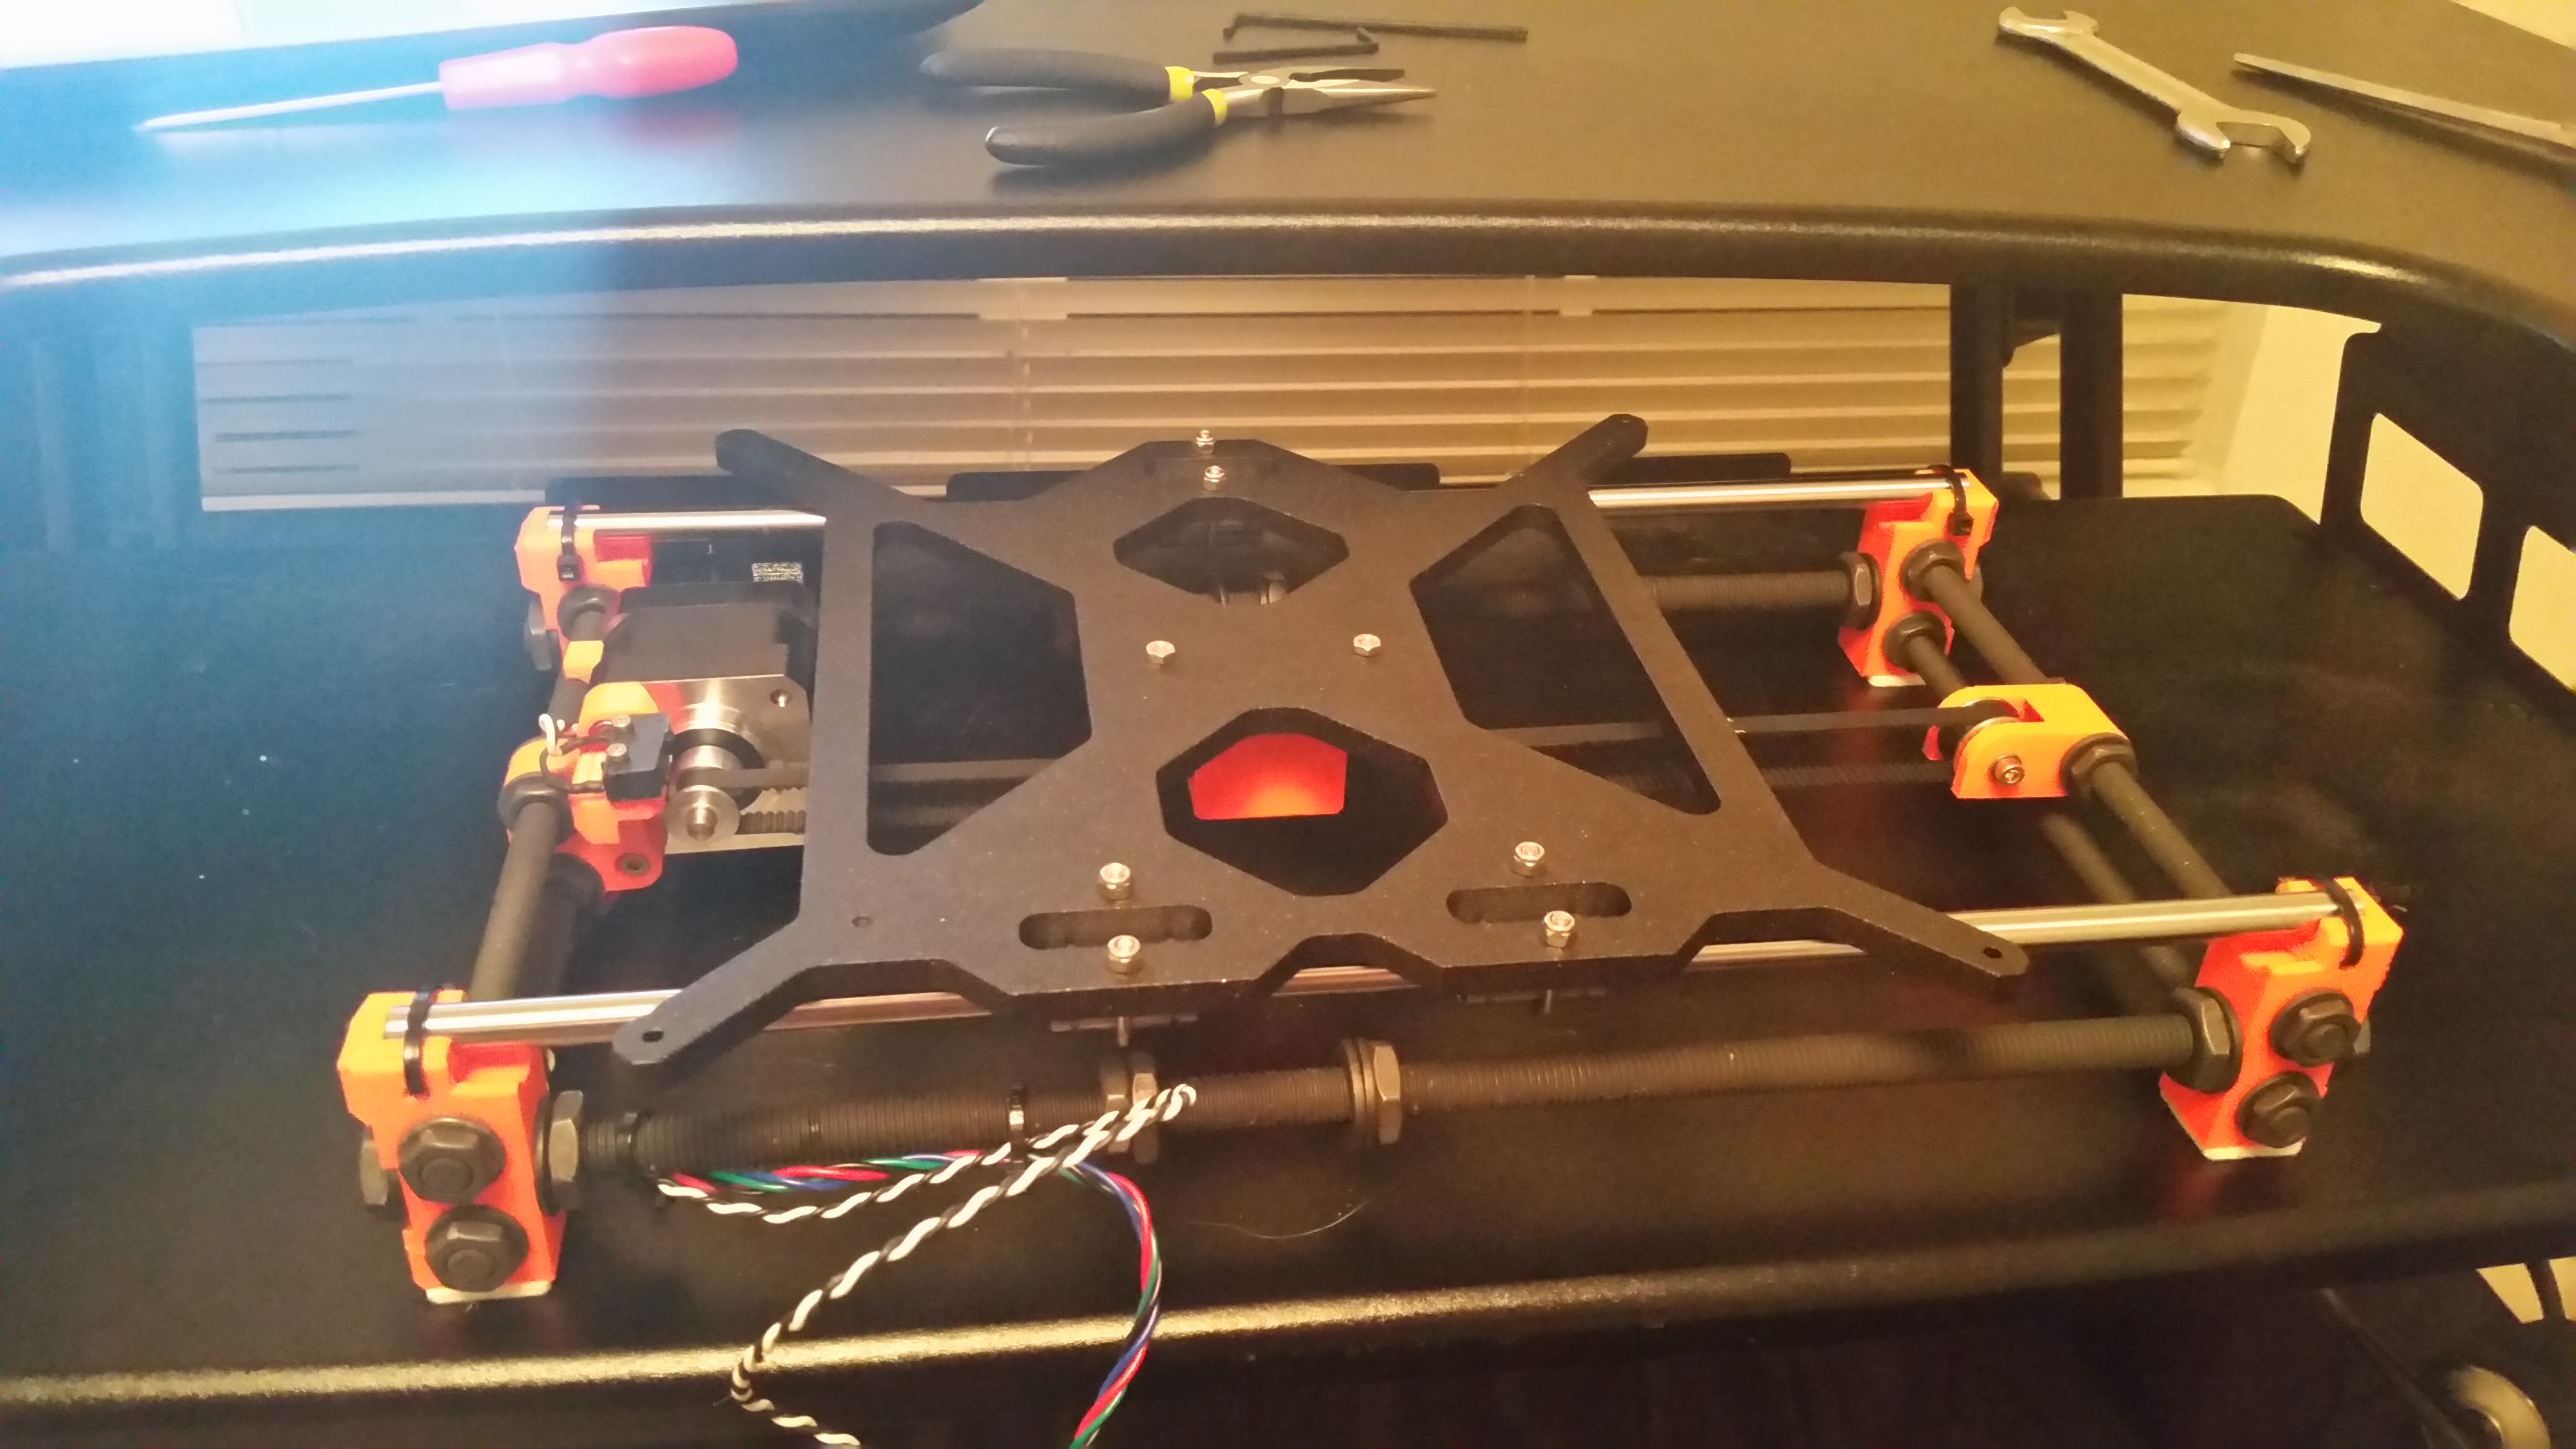
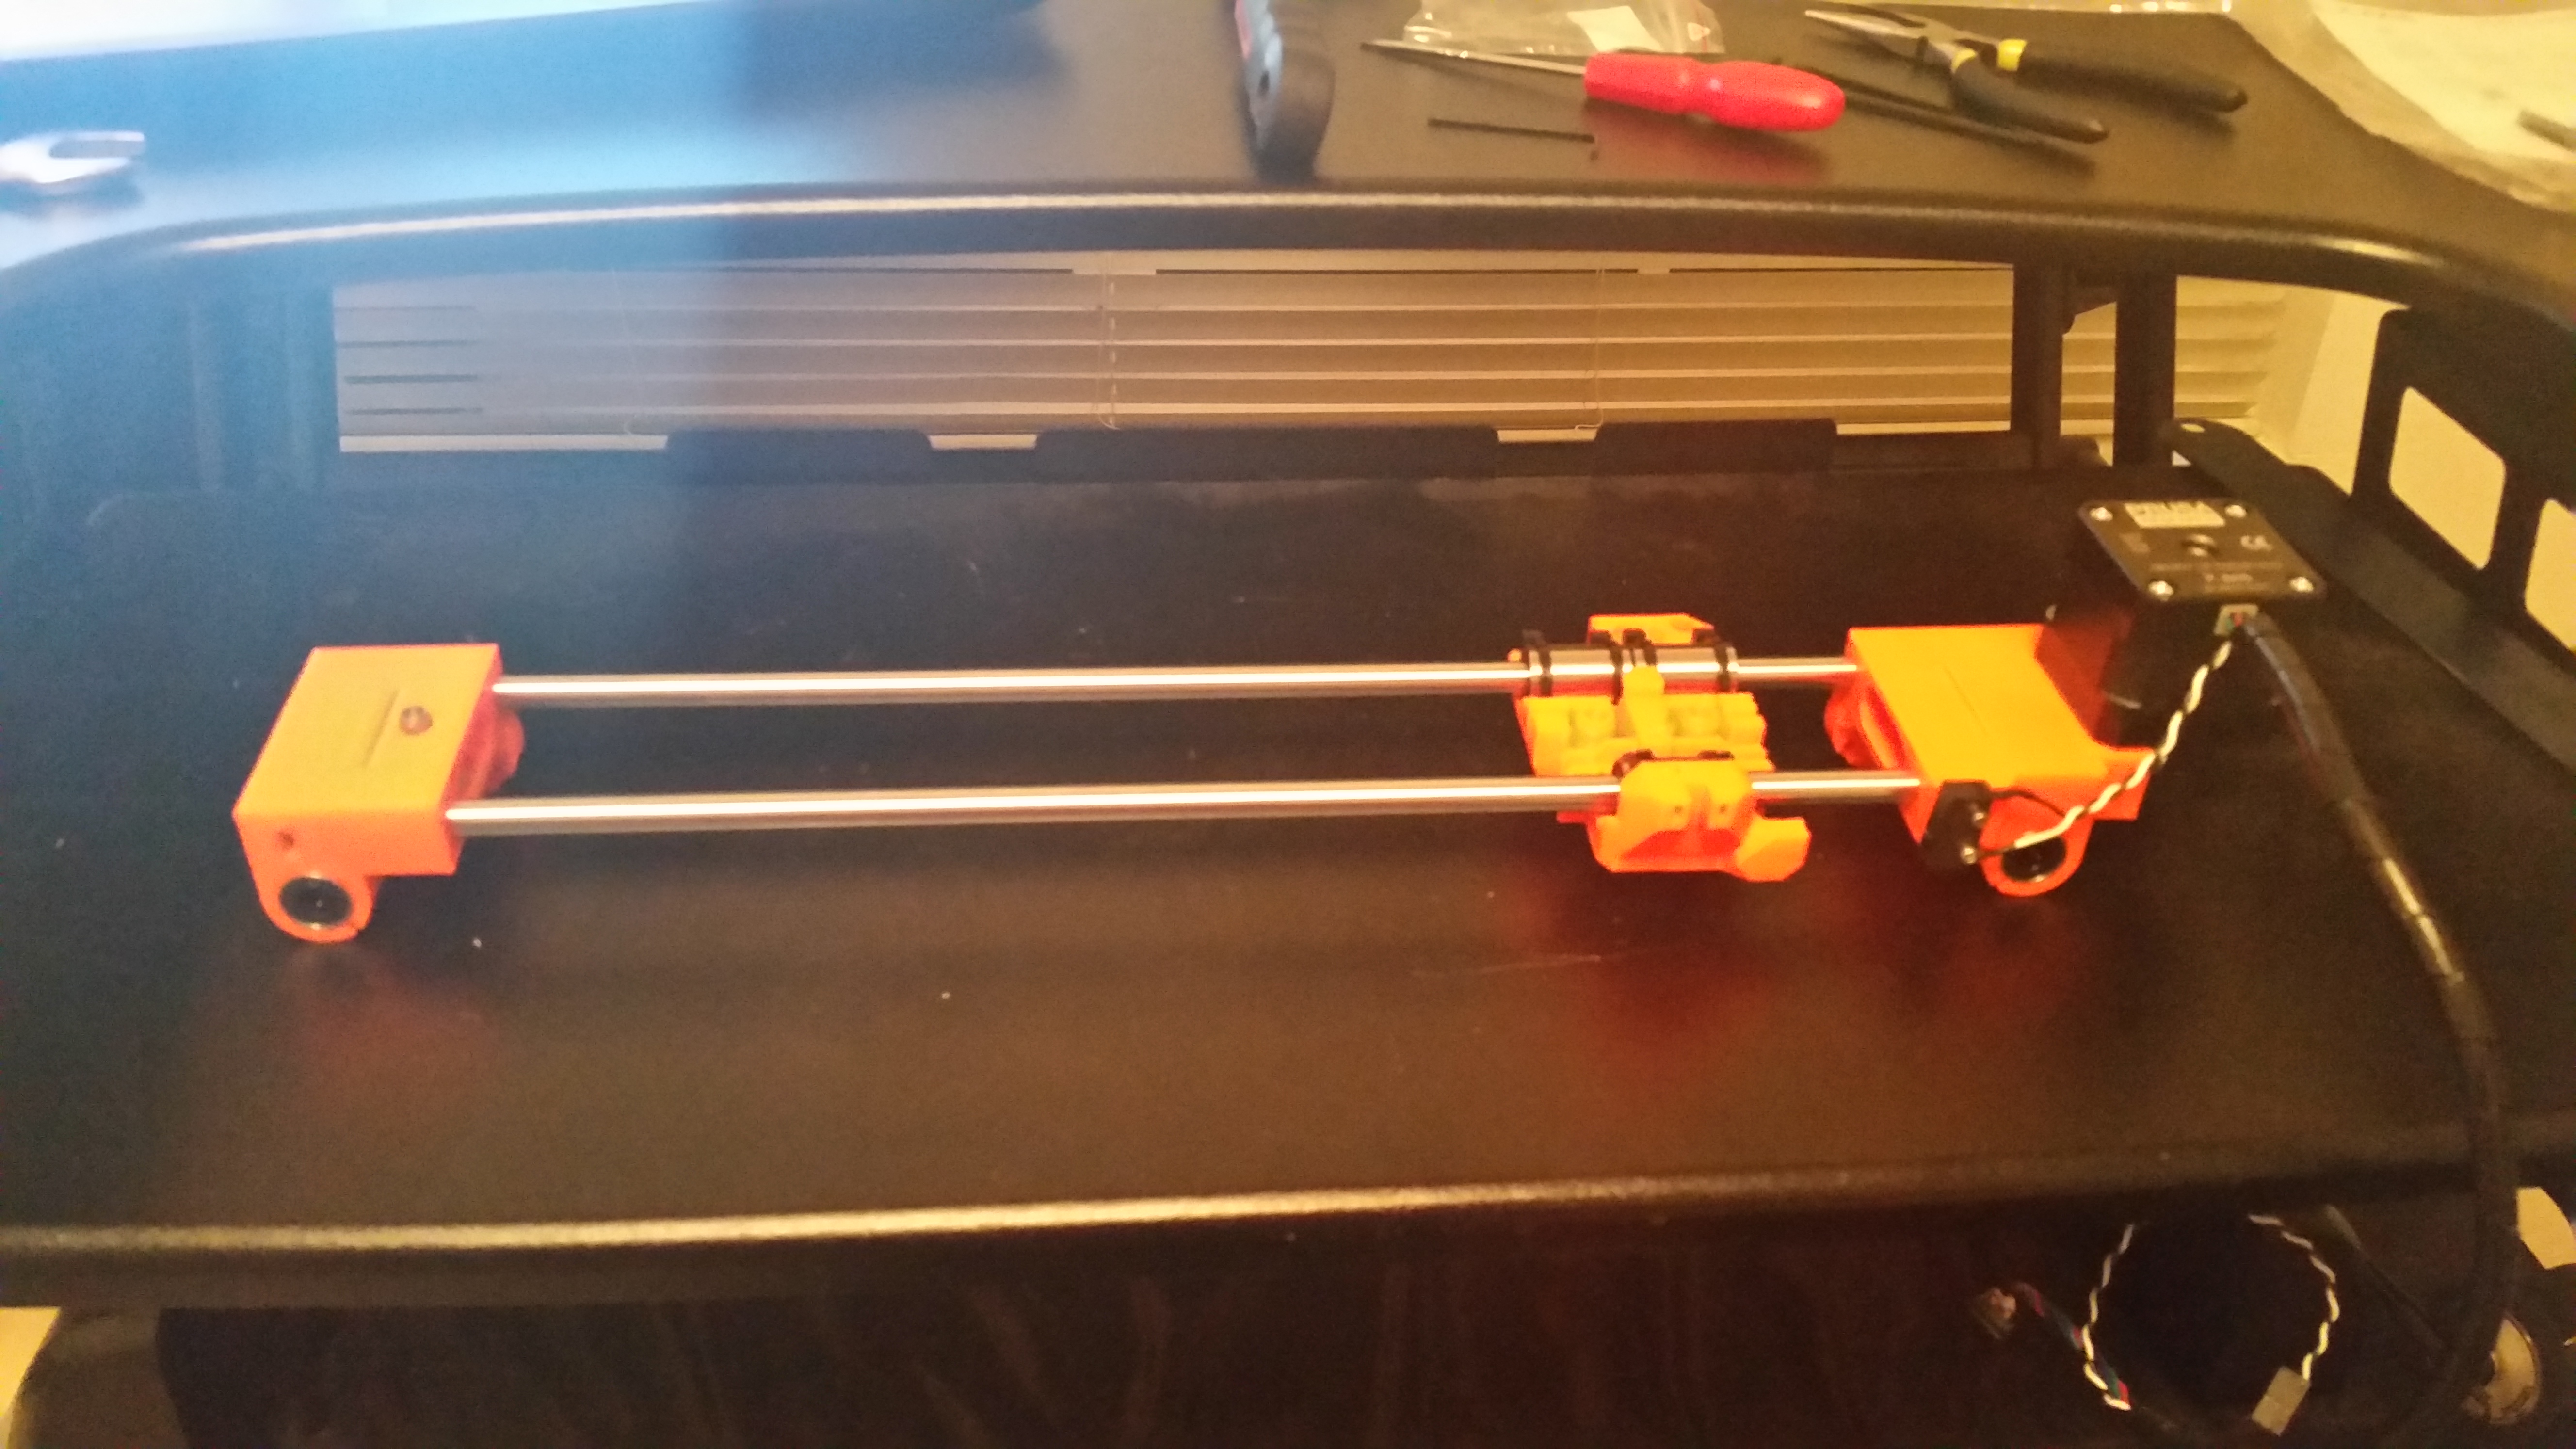
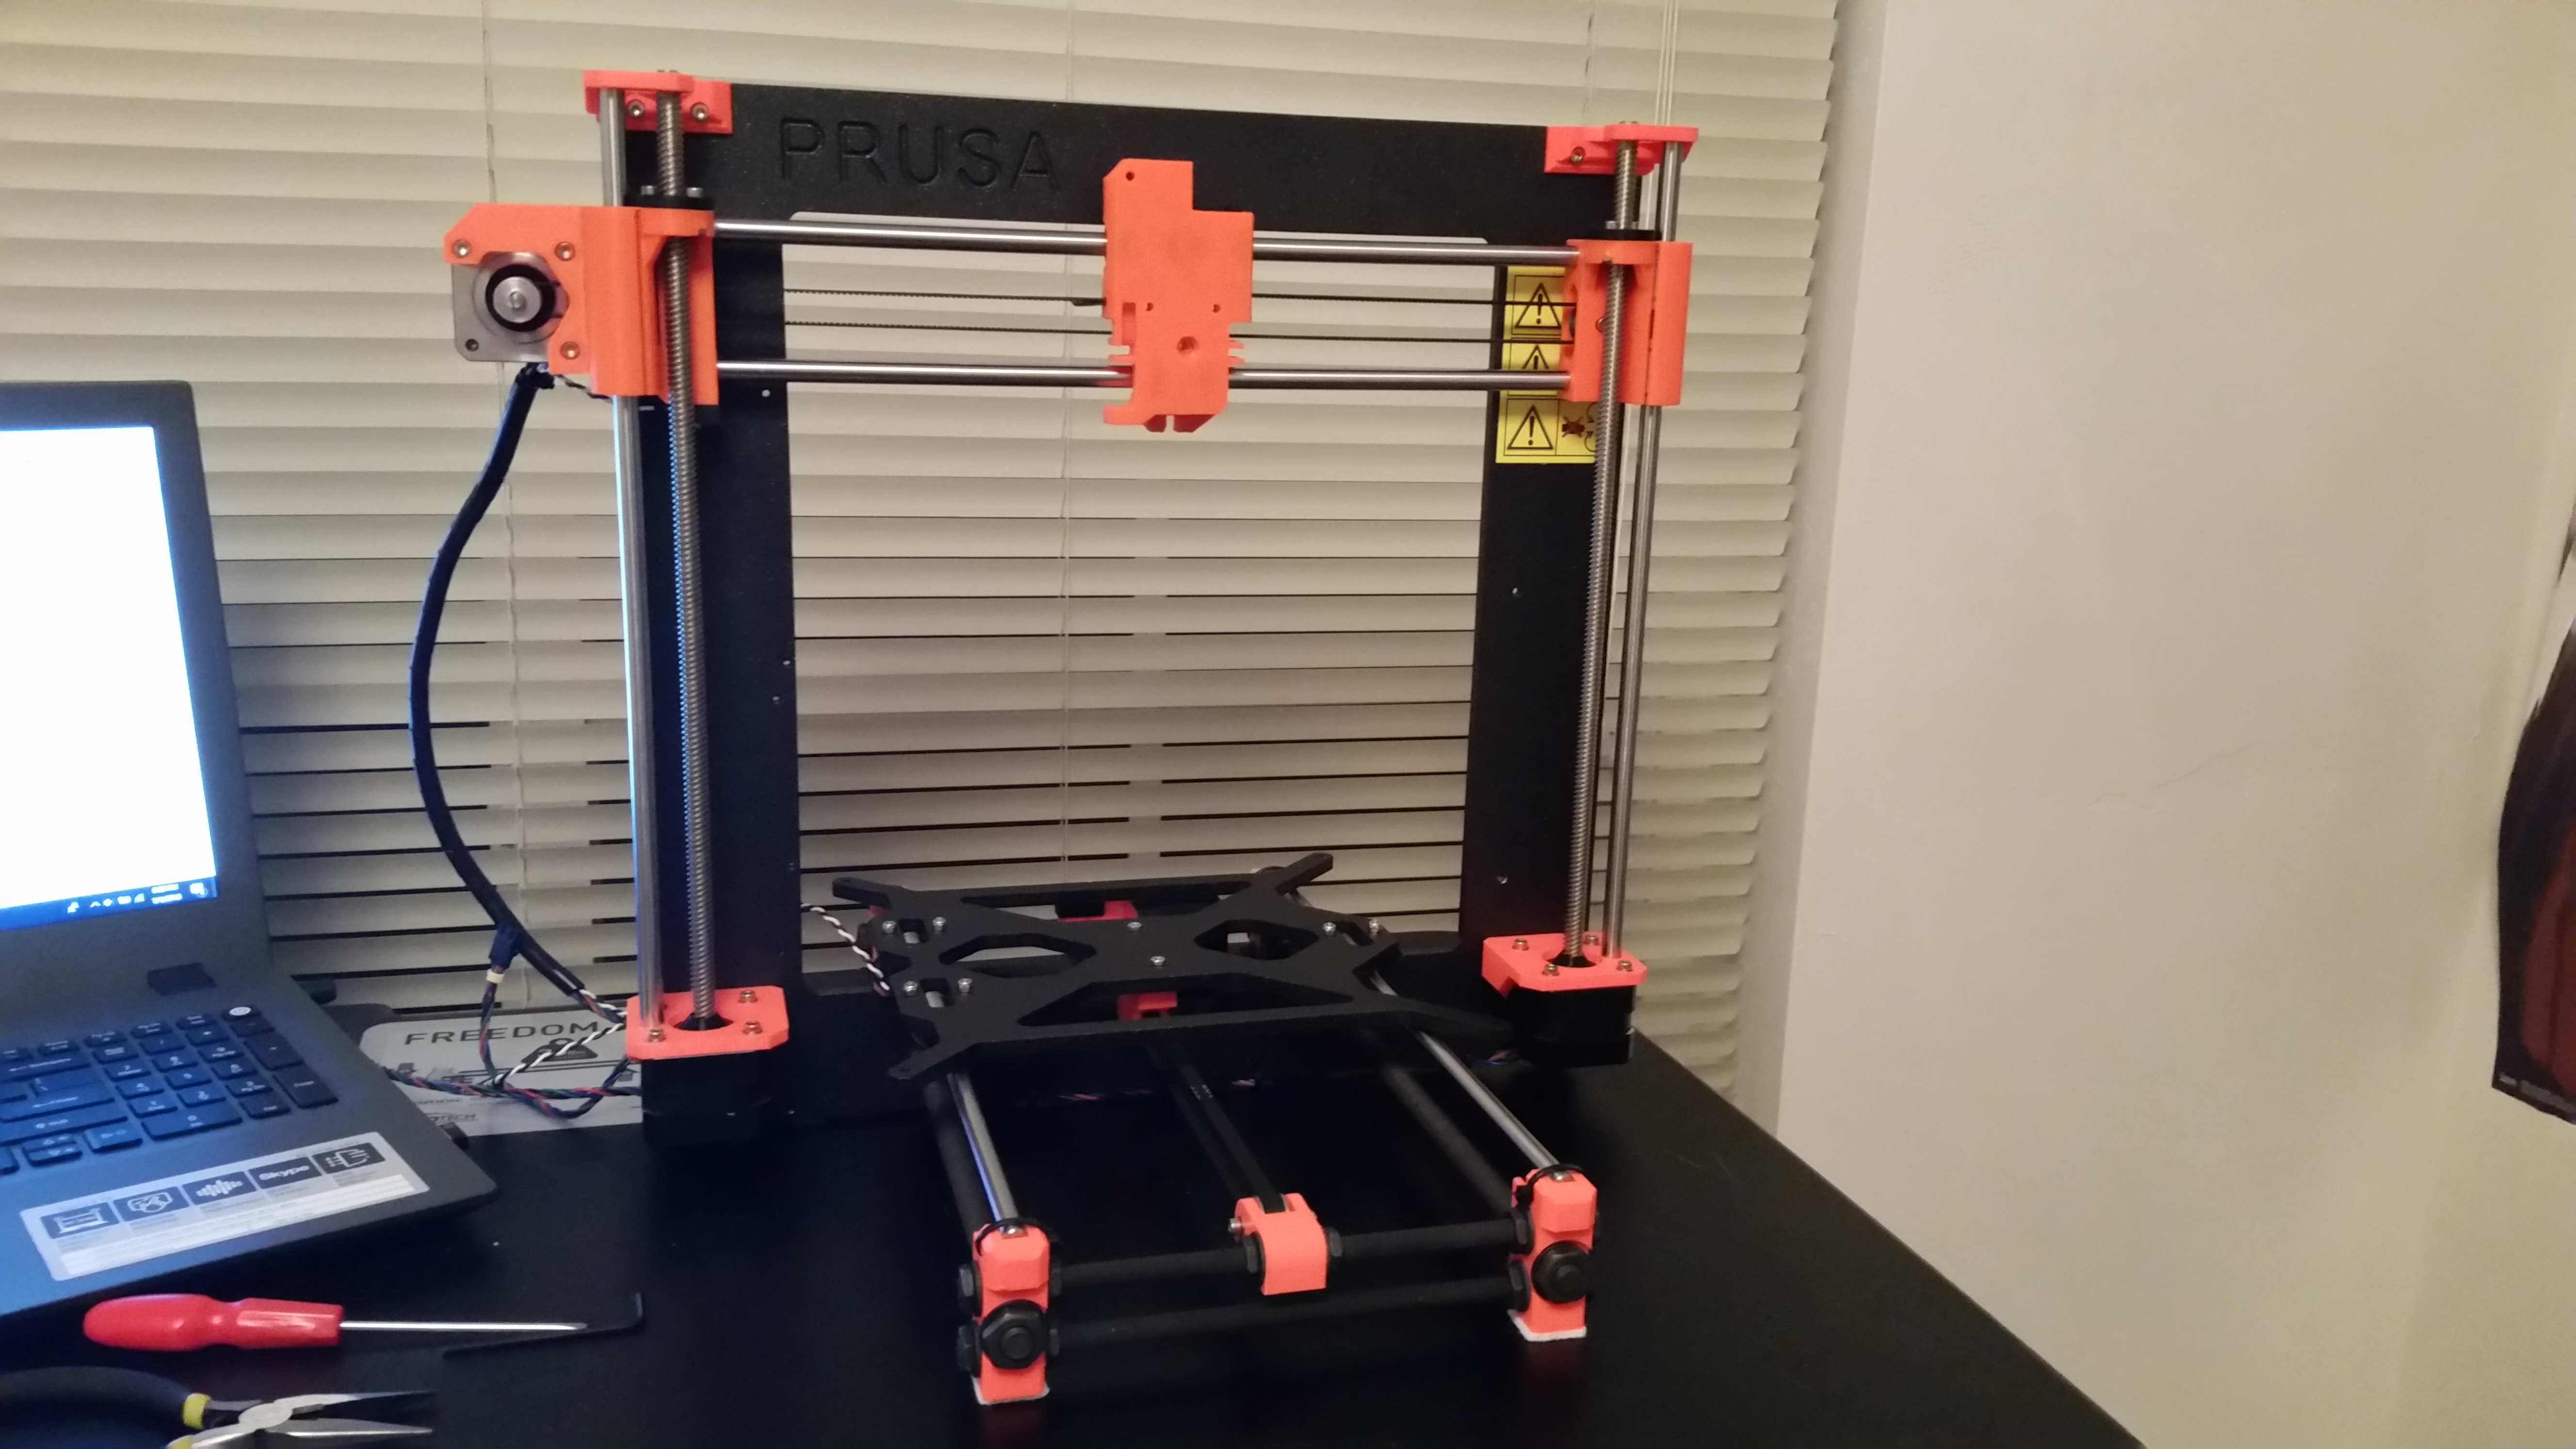
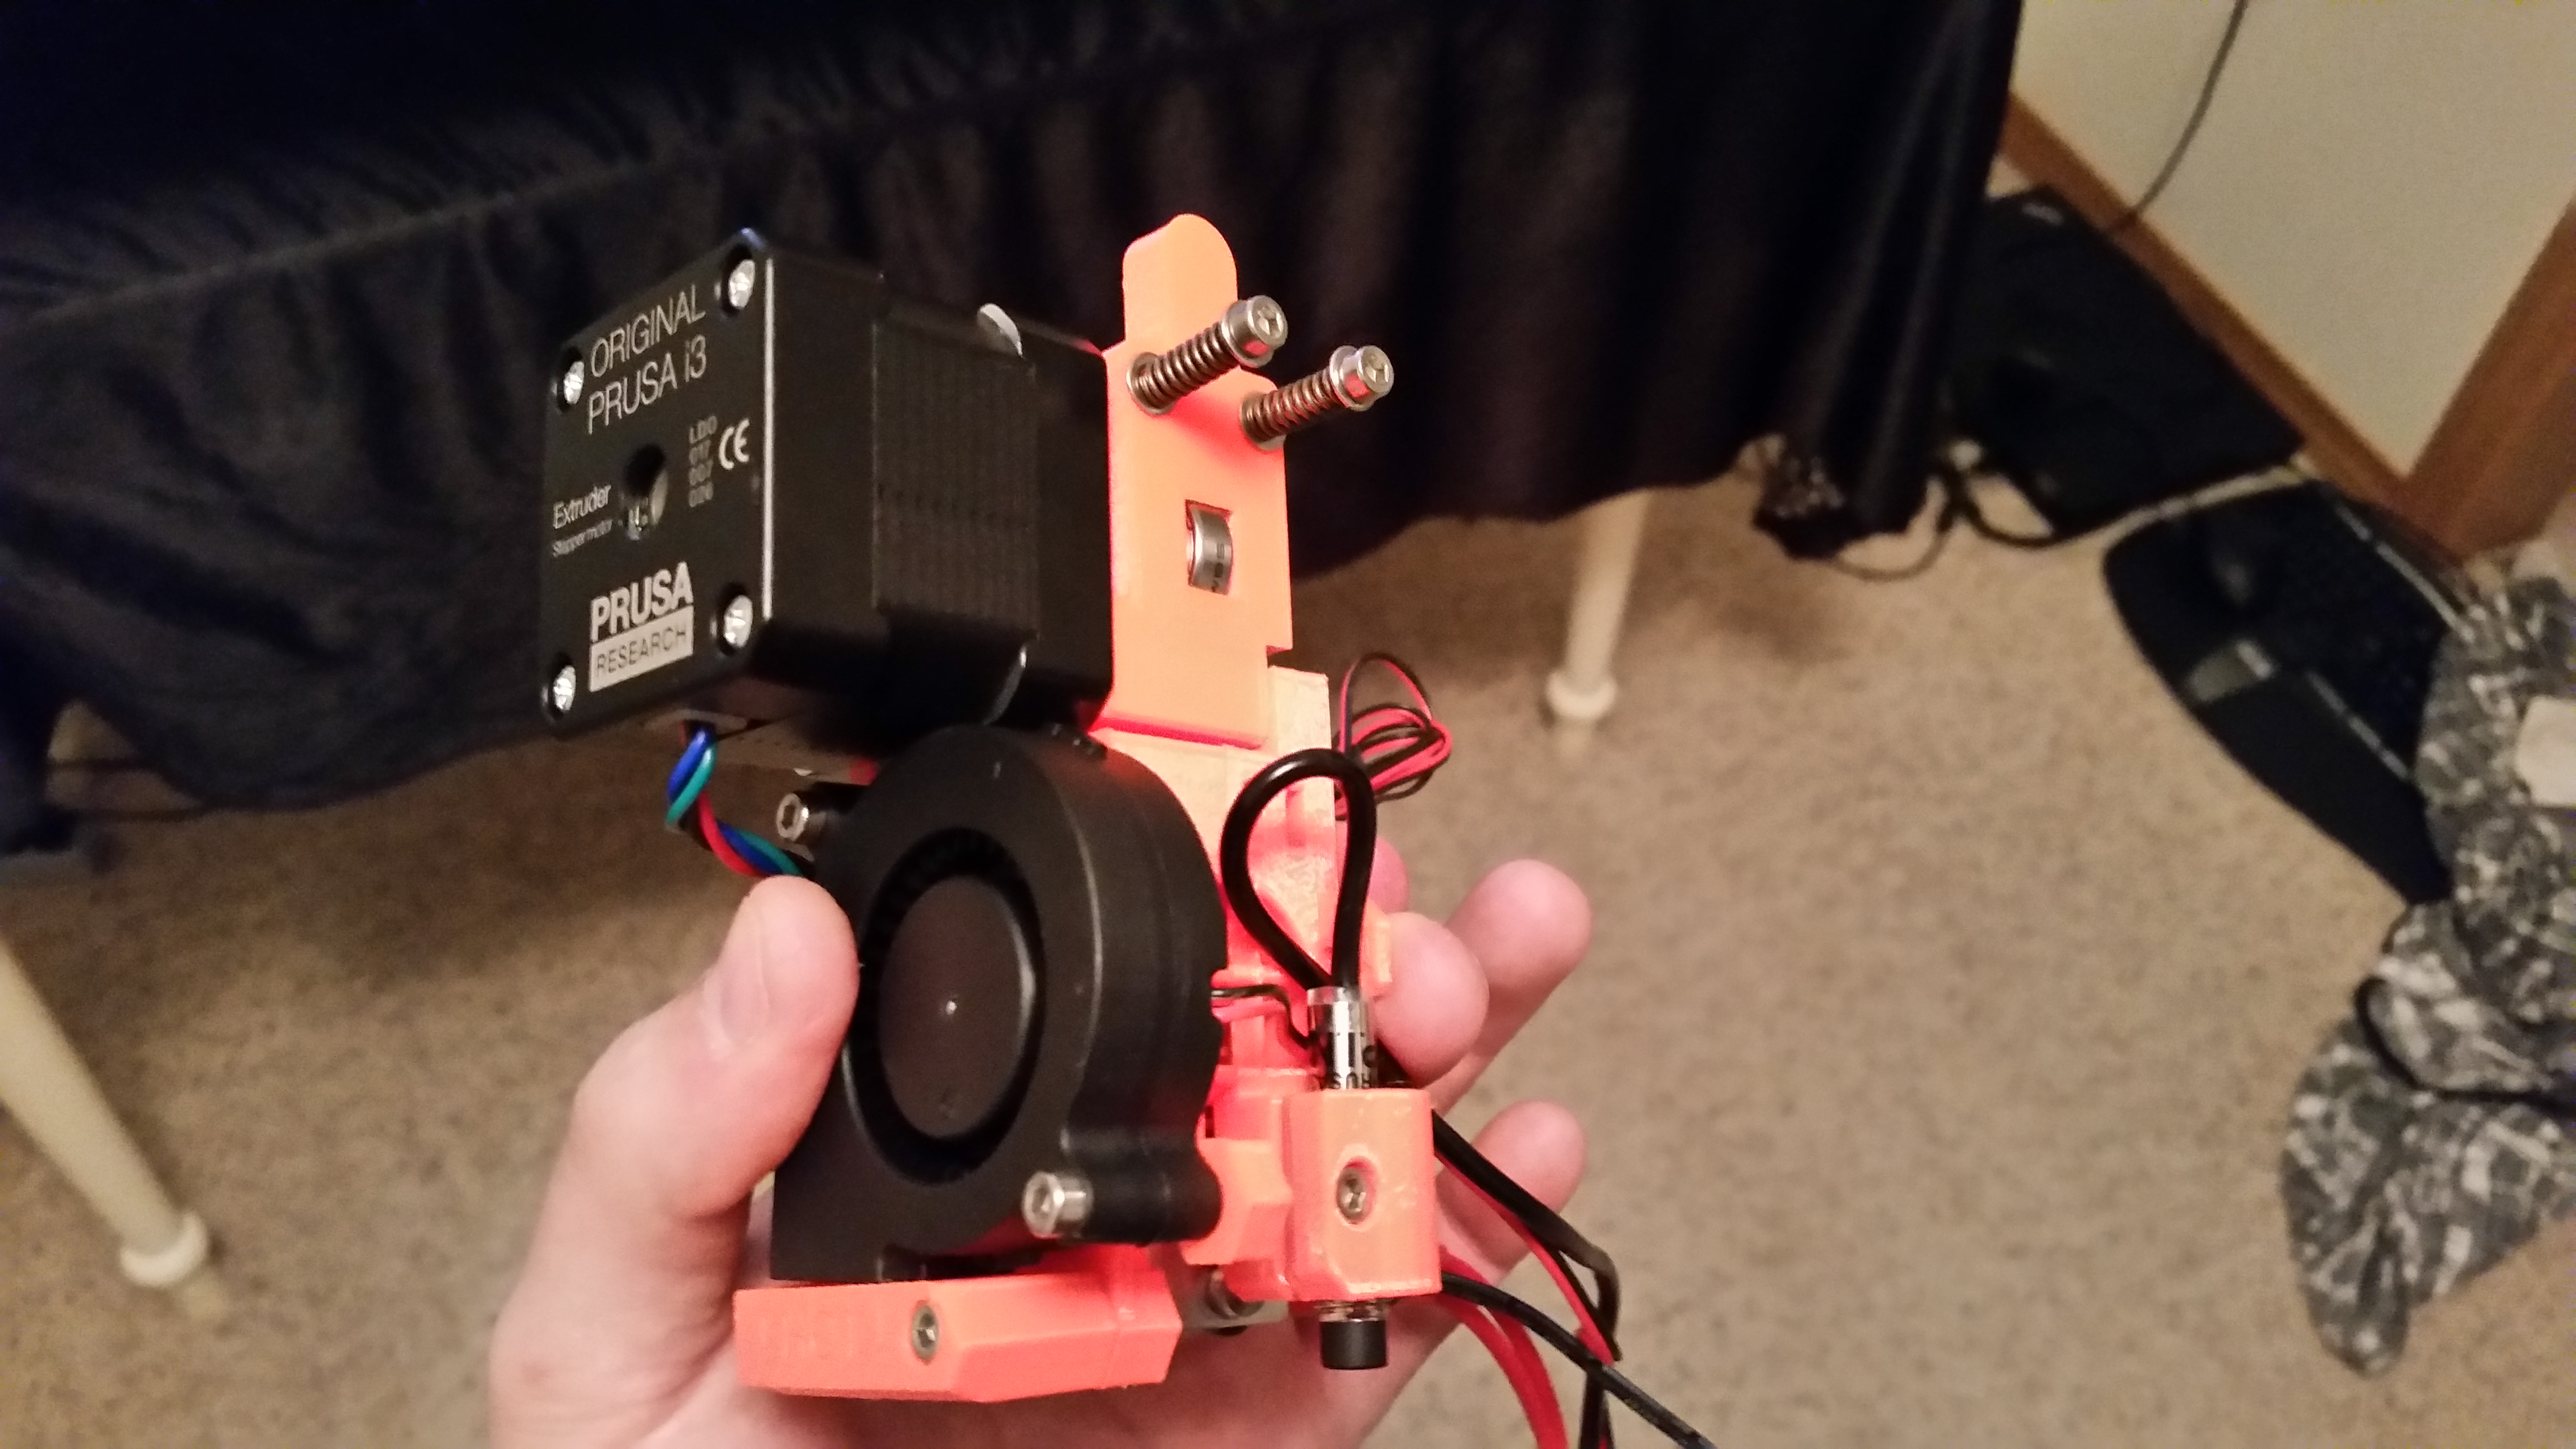
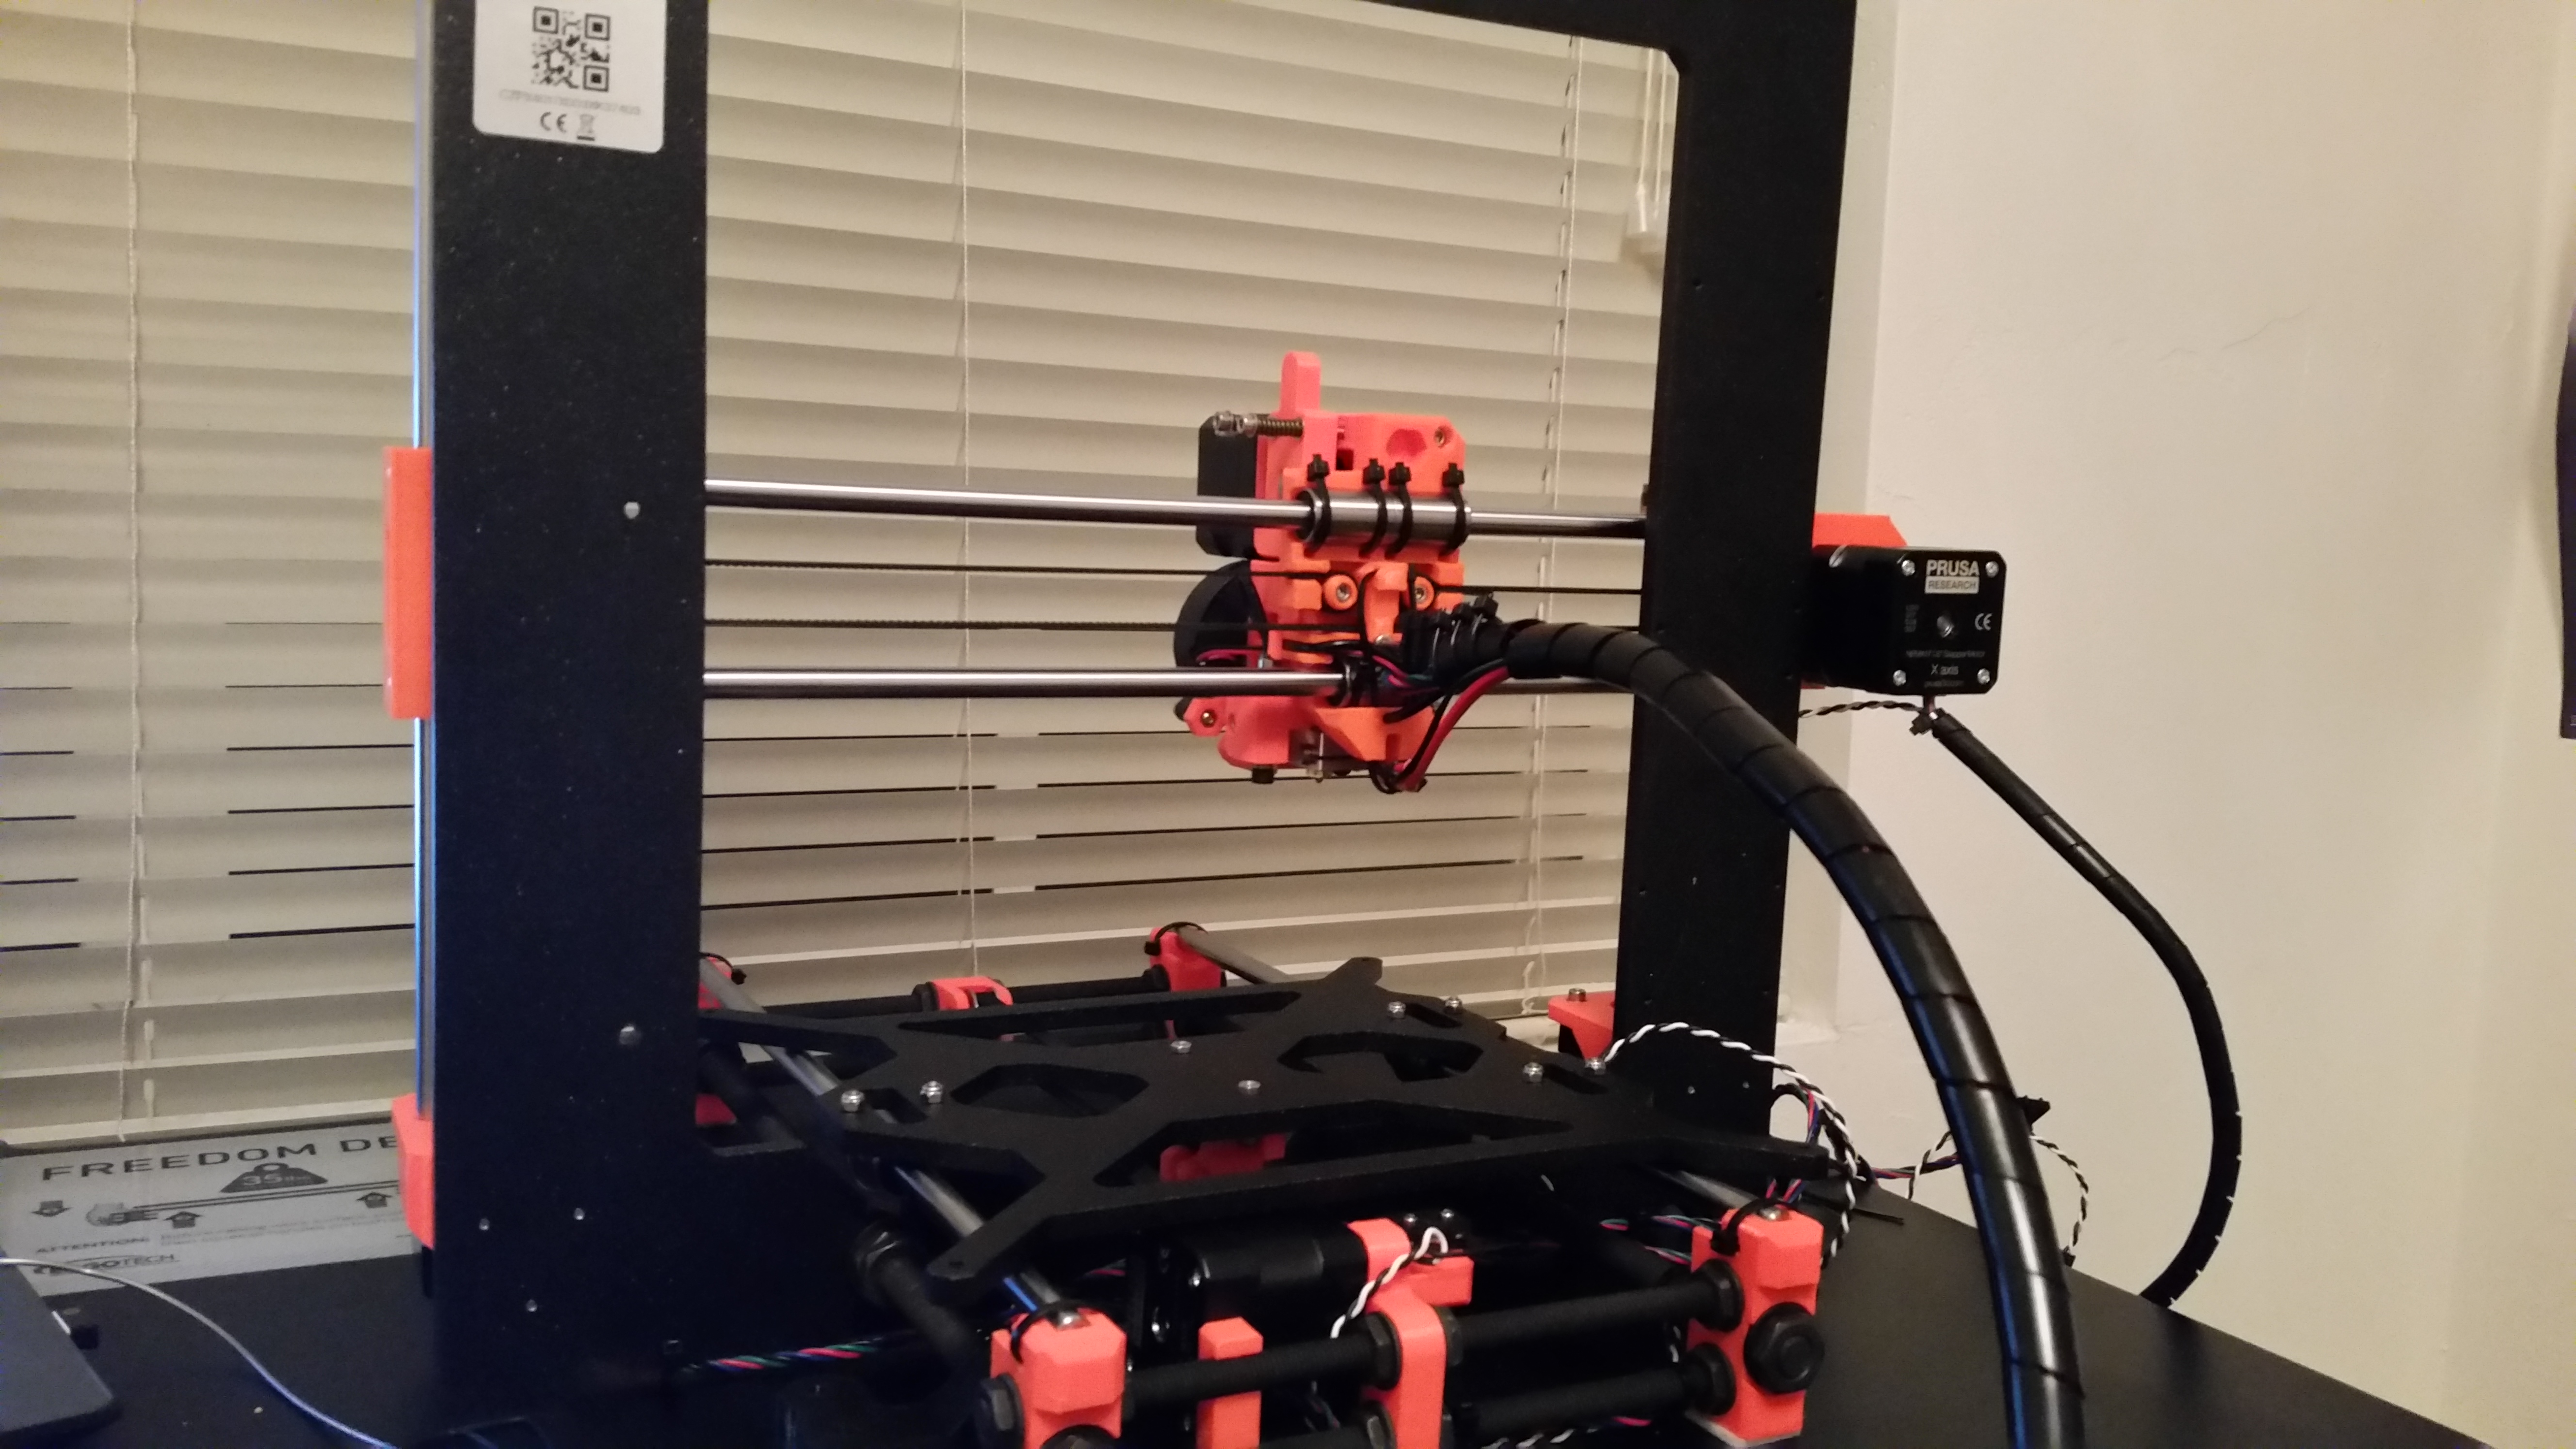
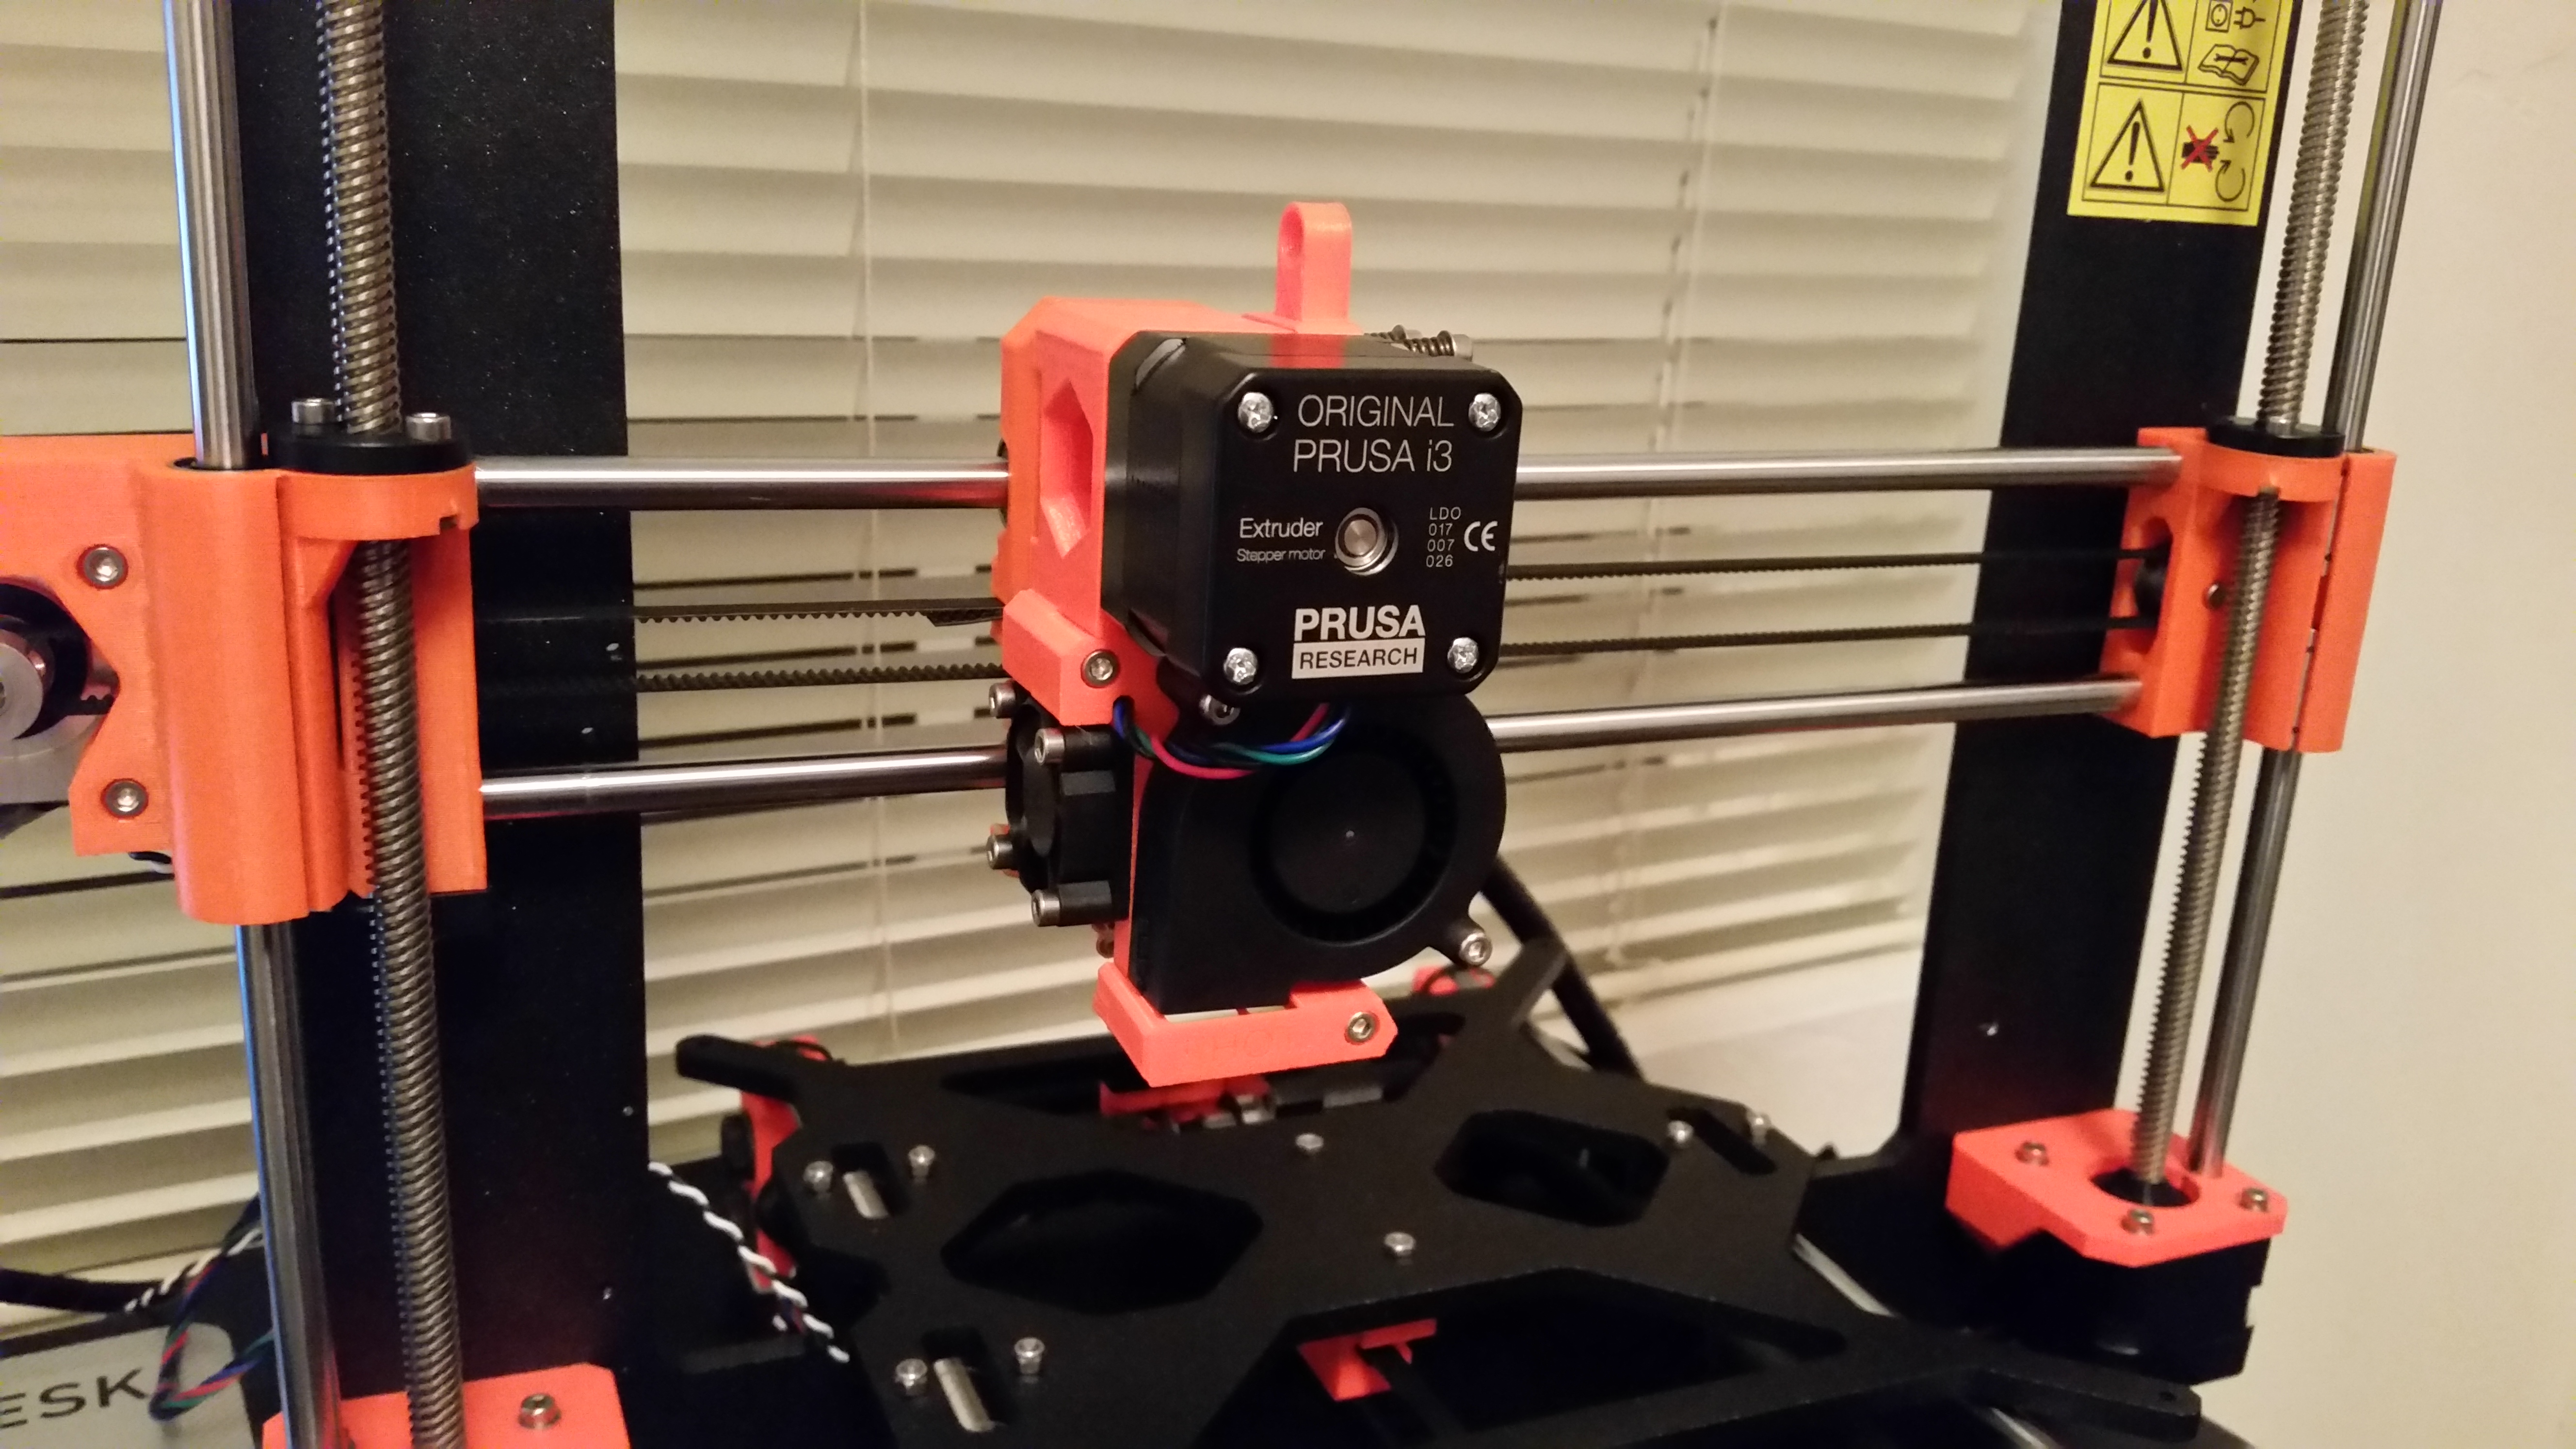
Whatever printer you decide to get, if you have the option of buying it preassembled or putting it together yourself, I recommend that you put it together yourself. As you put it together, you’ll learn how it works. When you run into problems with it later, you’ll have a much easier time troubleshooting and be much more comfortable taking it apart if you need to. For the Prusa, the instructions for putting it together are very easy to follow. I think it takes most people around 12 hours to assemble the MK2. It took me about that much time.


Save Your Settings for Each Type of Filament
When you start 3D printing you’ll need a slicer program. The slicer contains all of the settings the printer should use when printing the model. These settings include what temperatures to use for the extruder and the bed, how many solid layers and shells to print, what infill to use, whether to generate supports for overhangs or not, and many other settings. So you’ll open a 3D model file in the slicer, and the slicer will export a gcode file using all your settings and the 3D model file. Your printer will use the gcode file to print the model.
The slicer program I use is Slic3r (Prusa edition). With Slic3r, and probably most slicer programs, you can export your settings to a file. When you start printing with different types of filaments, you’re going to have to tweak the settings. For example, PLA and PETG need different temperatures for the extruder and bed. Once you have settings you like for the filament you’re printing with, export those settings to a file. Import the file whenever you print with that filament. I have different settings files for all the filaments I print with (PLA, PETG, TPU, Nylon).
This wasn’t obvious to me when I first started out, but you can store the Z offset in the slicer program. On the Prusa, you can manually adjust the Z offset using the LCD screen. At first I would adjust it on the LCD screen whenever I changed filaments. Don’t bother with that. Just store it in your settings file.
Layer, Shell, and Infill Settings
The number of layers, shells, and the infill percentage you use will depend on how strong your part needs to be. If you’re printing things that don’t need to be very strong, such as figurines and toys, then I think you can get away with 2 layers and shells and 10-20% rectilinear infill. If you’re printing parts that need to be strong, then increase the number of layers and shells. I’d recommend at least 4 layers and shells. Infill doesn’t matter as much. The cubic infill pattern will make the part stronger, so I recommend it. For the percentage I usually use 30%.
Use Thingiverse and Mcmaster-Carr to Find Free 3D Models
Thingiverse has 1000s of free 3D models you can download. If it’s something you can 3D print, chances are it’s already on Thingiverse. I’ve downloaded and printed figurines, a sword, gears, and many other things from Thingiverse.
If you’re looking for mechanical parts, such as gears and screws, McMaster-Carr is an excellent resource. Most of the items you can buy there have a step file you can download and import into your slicer or 3D modeling software.
How to Make Your Own 3D Models
If you want to make your own 3D models, there are many free programs you can use. Blender, FreeCAD, SketchUp, Tinkercad, Fusion 360, OpenSCAD, and Desigspark Mechanical are all free (or have free licenses). I mainly use Designspark Mechanical because I find it’s interface to be very intuitive and easy to use. For what I need, It works 90% of the time. The other 10% of the time I’ll need to do something that I can’t do in Designspark Mechanical, and I’ll use Fusion 360.
All of the programs I mentioned except Blender are meant for designing mechanical parts and machines. Blender can be used for making more artistic models, such as figurines.
Printing Time is Longer Than You Think
Many people who aren’t familiar with 3D printing are surprised by how long it can take to 3D print an item. For example, this item took about 3 hours to print. Larger items, like this tommy gun, took over 20 hours to print all the parts.
You can tweak your settings to make items print faster, but just know that 3D printing is slow.
I Hate ABS, Love PETG
When I first started printing, I printed with ABS a lot because I wanted it’s strength and heat resistance. I constantly had problems. It smells bad. It needs higher temperatures to print and is known for warping. Warping is where the part, well, warps, because of heat differences in the part. The bottom of the part will be hot because it’s touching the bed. The top of the part will be hot because it just came out of the extruder. The middle of the part will be colder, which will result in warping. Most people recommend having an enclosure around your 3D printer if you’re going to print with ABS. The enclosure will trap heat so that the part doesn’t get as cool, resulting in less or no warping.
I’ve seen many images of enclosures people have built for their 3D printers and read logs of guides and forum posts about it. The problem I have with making an enclosure is that it’s recommended that you move the electronics outside of the enclosure, because the extra heat can damage the electronics. Moving them just sounds like a hassle to me, and I just don’t want to take the time to build one. Plus, many DIY enclosures are made from wood, so if the printer ever actually does catch on fire, there’s now a lot more material to burn. If I ever do get an enclosure I’ll probably buy a metal server rack.
Instead of building an enclosure, I tried a quicker solution. I set up a heat lamp so that it pointed at the print. I hoped the heat lamp would keep the part hot enough to prevent warping. It worked very well to prevent warping.
A friend of mine recommended trying PETG, since it is similar in strength to ABS but can be printed at lower temperatures, doesn’t smell, and isn’t known for warping. I got a roll of Amazon Basics PETG and was amazed by how easy it was to print with. I haven’t had any problems, including warping, with PETG. PETG is now my go-to filament because of how easy it is to print with and how strong it is.
Printing with TPU
TPU is a flexible filament, meaning that the parts you make with it are flexible. Printing with it can be a challenge because of how flexible it is. You may find that it has problems where it gets tangled up, oozing, stringing, and prints getting stuck to the bed.
I recommend following the advice in this video from Maker’s Muse. After following that advice and doing a little bit of tweaking with the extrusion multiplier I was able to easily print TPU. However, I still continue to struggle with one problem, and that is that TPU sticks too the PEI bed too well. It sticks so well, that it ripped several holes in my PEI sheet. Advice I found online suggests to spray window cleaner on the bed, which is supposed to make the TPU not stick as well to the PEI, but it didn’t seem to work well for me. I also recently found advice to use a glue stick instead of window cleaner. I haven’t tried that yet.
What I found works for me is to put some Kapton tape on the bed. The TPU sticks just well enough to the Kapton tape to keep it on the bed, but not so well that it’s difficult to get off. Still, sometimes the tape rips, but it’s better than the PEI sheet getting ripped. Kapton tape also sticks well to the other filaments I work with, even Nylon, so I decided to just cover my bed with it. I’ll probably just leave the tape on my bed until I decide to upgrade my printer so I can get the removable and flexible bed.
Keep Your Failed Prints
You should keep your failed prints and keep them separated by filament type. Filament extruders, machines that allow you to recycle filament, are getting cheaper. Take a look at this video from CNC Kitchen to learn how you can get started.
What To Do If You Rip Your PEI Sheet
Like I mentioned above, you can use Kapton tape to cover holes in your PEI sheet. Take a look at this video from CNC Kitchen to learn how.
You can replace the PEI sheet. You can find replacement sheets on Amazon. Follow the guide in this video from SBS Extensions to replace the sheet, which involves removing the bed. If you don’t want to replace the bed you can follow this video by Chris Riley. However, I’d recommend that you not use acetone like he does in the video since it can melt the 3d printed parts on your printer. Use something like Goo Gone instead.
YouTube Channels I Recommend
There are lots of great resources out there to learn about 3D printing. I mostly watch YouTube videos about it. Here are the channels I recommend.